How To Go Blonde At Home! (From Black Hair, With Minimal Damage & No Brassiness)
by Mia M.
** Do you want to try going blonde without the massive price tag that comes with a salon? This is the tutorial for you! I had curly black hair and managed to lighten it to ashy blonde with minimal damage and brassiness. Here’s how!**
Hello, beautiful people, and welcome back to the section of my site designed to keep you looking your best: beauty. Now, I normally only really cover skincare in this category . . . but I wanted to branch out a little. Let me know if you enjoy it and I can always share more haircare with you all!
What are we doing today? Why, showing you how I bleached my hair at home and got non-brassy ashy blonde. (Spoilers: it went bright orange first – so if you’re joining us at the brassy stage, I’ve got plenty of tips for you too!)
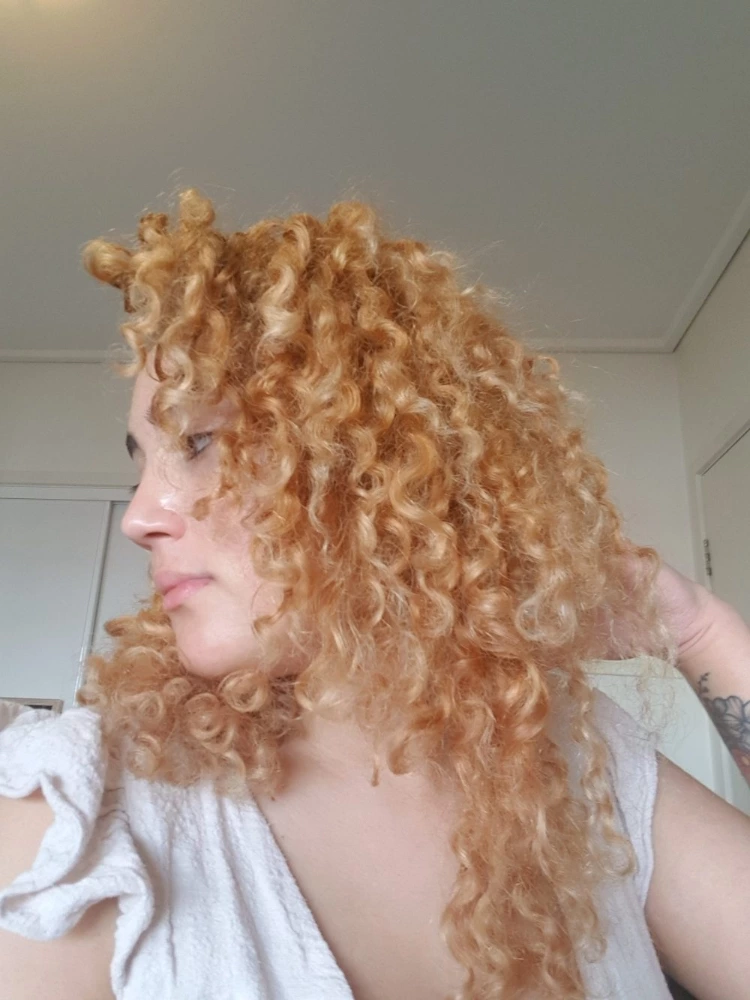
BEFORE & AFTER PHOTOS
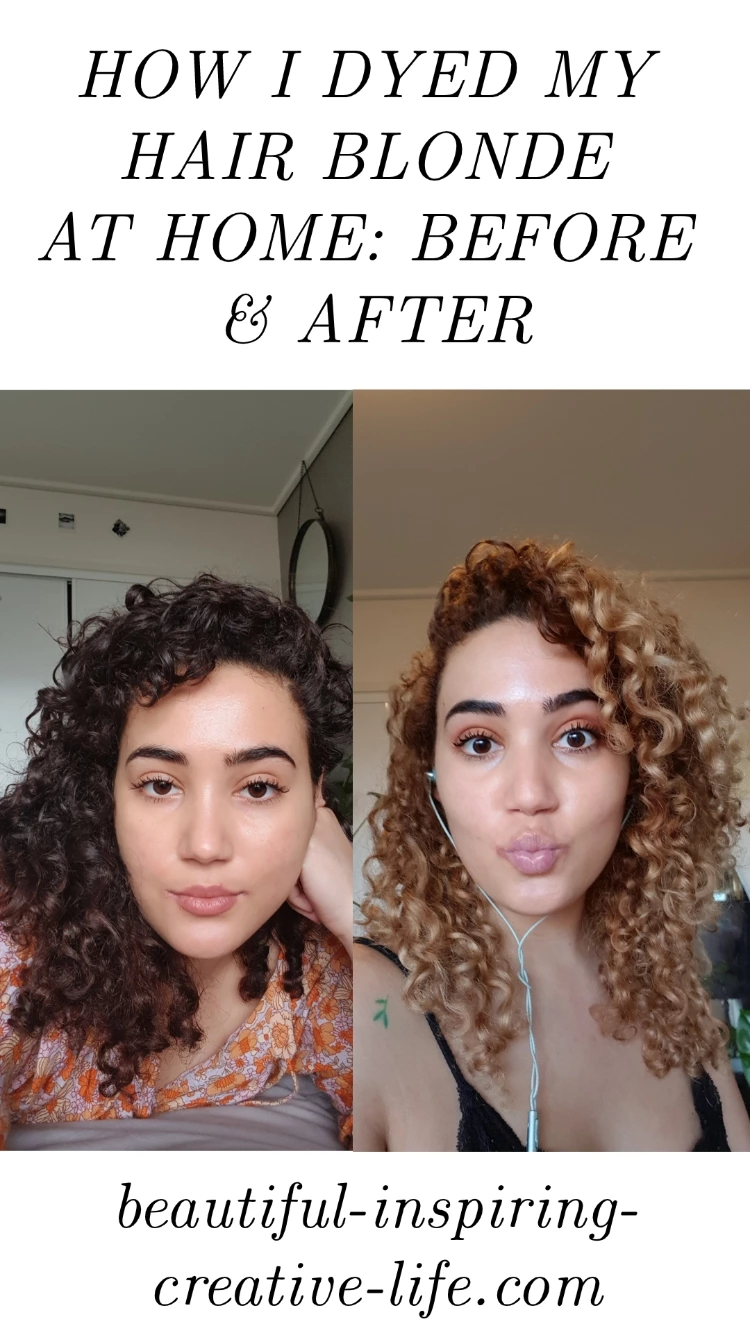
As you can see, I had really dark brown (almost black!) curly hair. It had a dark brown box dye on it too. The finished product is an ombre, ashy blonde effect and I totally love it.
HOW TO GO BLONDE AT HOME WITH MINIMAL DAMAGE:
HUGE disclaimer: I am by no means a hair professional! Bleaching and dyeing your hair at home can cause massive hair damage. If you have the spare funds, it’s always recommended you go to a salon. But at the same time . . . It’s 2020, who wants to drop $400 on your hair when there’s rent to pay?
WHAT I USED:
- Hi-Lift Bleach
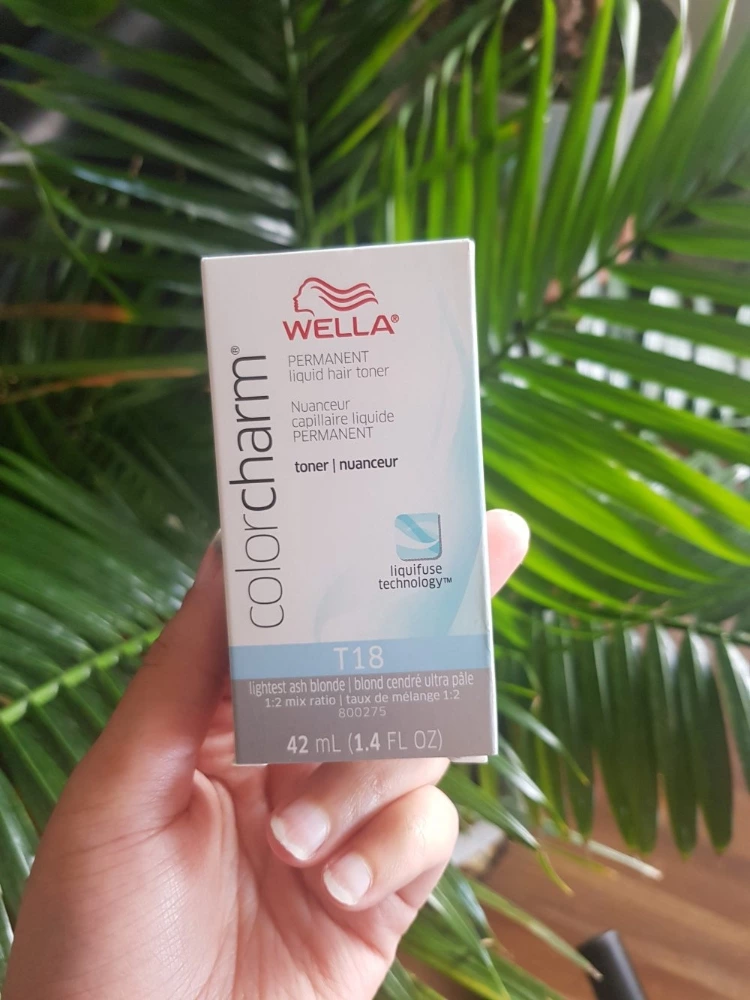
- Wella T18 toner
- Volume 20 Developer
- Wella T27 Toner
- Wella Colour Charm Demi Permanent 7A Medium Ash Blonde*
*This product is fabulous and I highly recommend, but it was a reactive purchase. All common sense left me and, after the first lift turned out awful, I somehow thought the answer was bleaching my virgin roots? (Yep, I really don’t know either.) Because my roots went full Chucky on me, I bought the demi permanent dye to try to cover them. It worked amazingly, but if you’re better than me and don’t touch your roots, you can probably skip out on it.
STEP BY STEP:
One thing to note: I bleached my hair during Melbourne’s lockdown. Because I was seeing all of nobody, I used a low level developer (volume 20) and bleached it multiple times over a few weeks. While this definitely helped to keep my hair in good condition, if you want to lift your hair quicker you should use volume 30.
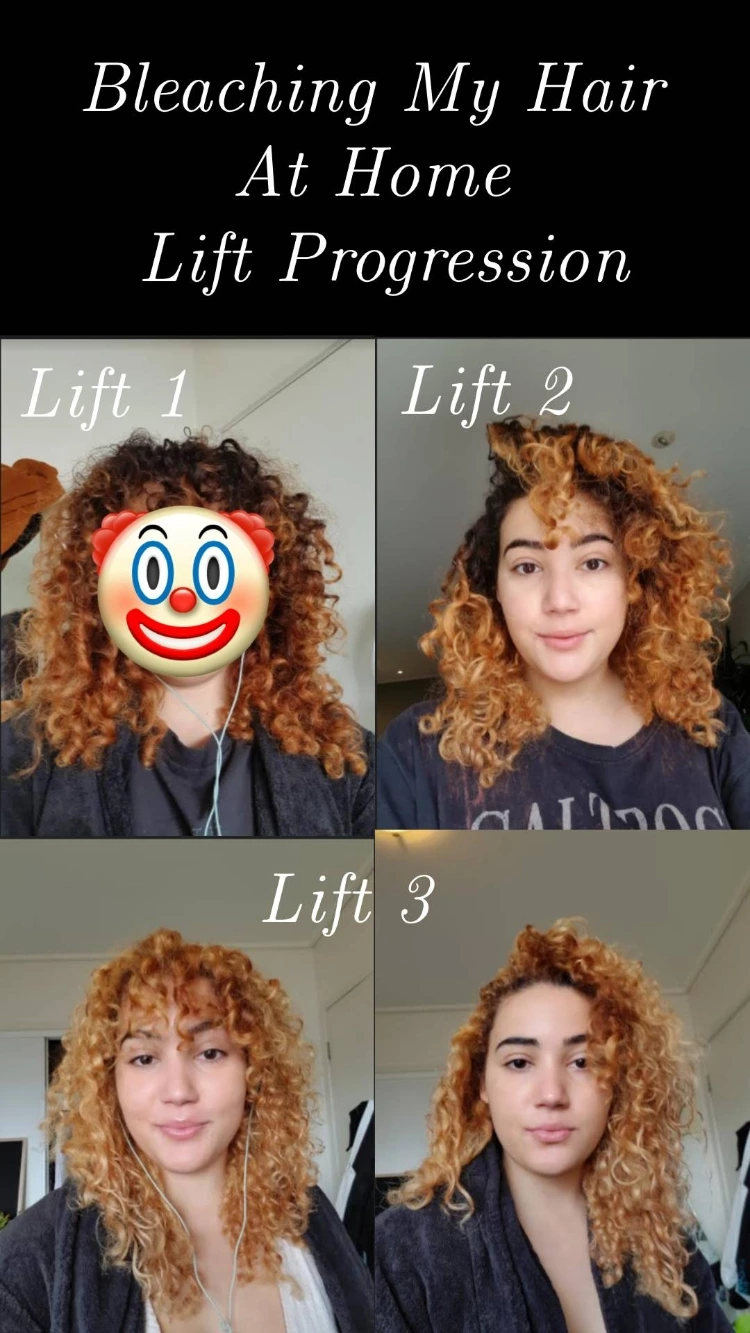
STEP 1 – LIFTING MY HAIR
Using Hi-Lift bleach and volume 20 developer, I bleached the mid to ends of my hair. I applied bleach to the ends first, as I wanted them to lighten the most for an ombre effect. TIP: If you’re doing this yourself, split your hair into sections with clips and work on one section at a time.
I did this 3 times over the course of two weeks. Here’s the lift progression!
Before: (also, follow me on Instagram!)
https://www.instagram.com/p/CGojwxfhY4G/

STEP 2 – TONING THE BRIGHT ORANGE/GINGER PARTS OF MY HAIR
After my final lift, my hair was a bright orange at the roots and lighter ginger at the ends. To combat this, I used the Wella T27 toner. This toner is a medium blonde, so it neutralises orange and brassy tones, but still keeps a warm base.
TIP FOR FIXING BRIGHT ORANGE/GINGER HAIR: Most toners require lifting your hair to pale yellow before they’re effective because they use a purple base. If you have orange hair, the Wella T27 and T35 are two toners that will neutralise the orange.
This is what my hair looked like after toning!
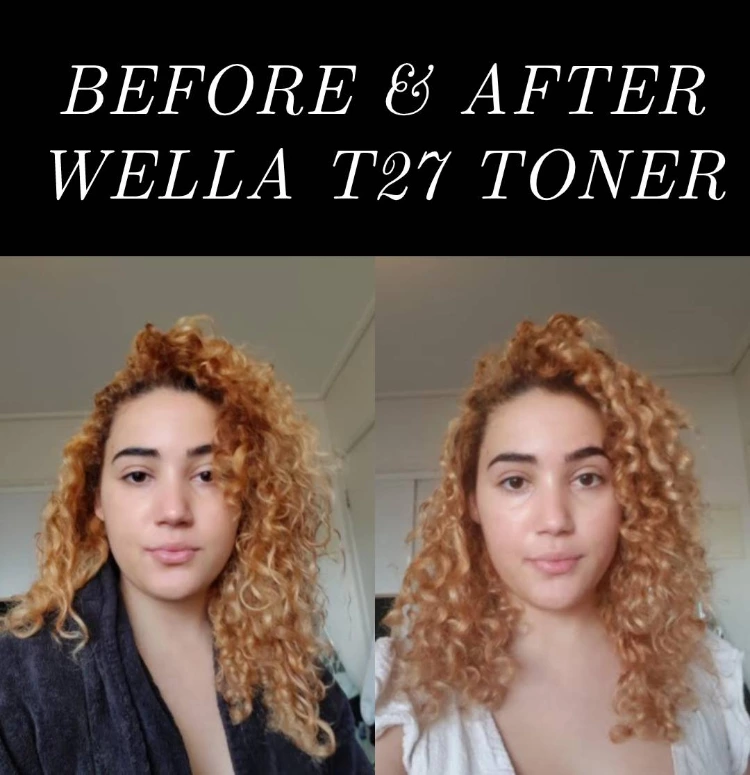
The toner had a warm base, so I kept a strawberry blonde look – but the horrific bright orange was almost entirely gone!
Now, if you’re bleaching your hair at home, this might be the place you want to stop. If you have particularly stubborn orange elements that won’t come out, or you want an ashy finish, then read on my friend!
STEP 3 – REMOVING THE WARM TONES WITH Wella T18 Toner
My plan was always to go an ashy blonde, but all the ashy Wella toners work best on hair that’s been lifted to pale yellow. So once I’d neutralised most of the orange with the T27, I used the T18 to really remove those warm tones.

I only used this on my ends and all the parts that I wanted to be full on blonde.
(This is initially after toning when it looked a lot darker. However, you can really see how it zapped all that strawberry blonde out!)
STEP 4 – NEUTRALISING THE ORANGE TONES THAT WERE TOO DARK FOR TONER WITH Wella Colour Charm Demi Permanent 7A Medium Ash Blonde
Because my roots had only been lifted once, certain parts weren’t light enough for the first T27 toner to be effective. So while the orange tones were mostly gone, I still had some work to do to remove it all!
TIP: Always check the level your hair needs to be lifted to for your toner to be most effective.
To remove the orange roots, I used the Wella Colour Charm Demi Permanent 7A Medium Ash Blonde. And oh my god, was this a game changer! It completely covered any remaining brassiness my roots were holding on to.
(You can see from this photo how the ashy blonde really starts to lighten up!)
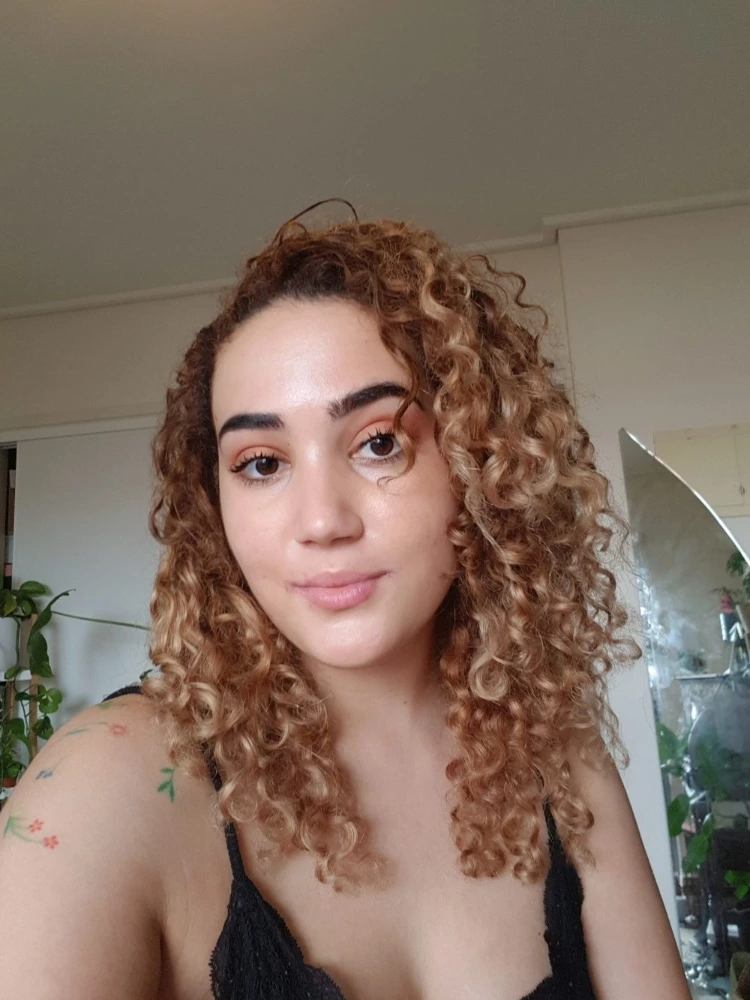
And that’s it! All in all, this was an easy and cost-effective way to go blonde – plus, I absolutely love the finished colour!
What do guys think of the new look? Have you ever attempted to go blonde at home? Or, if you haven’t, would you give it a crack? Let me know your thoughts down below!
LATEST YOUTUBE VIDEO:
Peace,

Instagram // Twitter // Bloglovin’ // Youtube // Pinterest
 |
 |
 |
 |

About Mia M.
I'm going through a bit of an existential crisis right now, I'll tell you about myself when I figure out if I'm real or not.
Leave a Reply
hey, i’m mia

tattoo lover, plant hoarder, DIY addict and overall stoner grandma
Creative Inspiration
Check out the FREE Gifts. Or latest free DIY eBooks from our best compilation.
Turn off Ad Block to reveal all the secrets. Once done, hit any button:
|
|
|
|