DIY: Ultimate Tie Dying Sweatshirt How-To
by Mia M.
Tie dying sweatshirts is a fun and easy way to give them a makeover. Check out my tutorial for how to create the ultimate stylish DIY tie-dye sweatshirt in a few easy steps! Affiliate links in post.
Hello, beautiful people, and welcome back to my corner of the web! I hope you’re all staying sane and eating your 5 a day. As I’m sure you could tell from the title, today we’re going to be tie dying sweatshirts . . . and I could not be more excited!
I first showed you guys this craft back in my 4 cool DIY gifts for him. However, it turned out so well that I simply had to dedicate an entire post to it. So if you have some old comfy clothes that need new life, let me show you how to DIY a tie dye sweater.
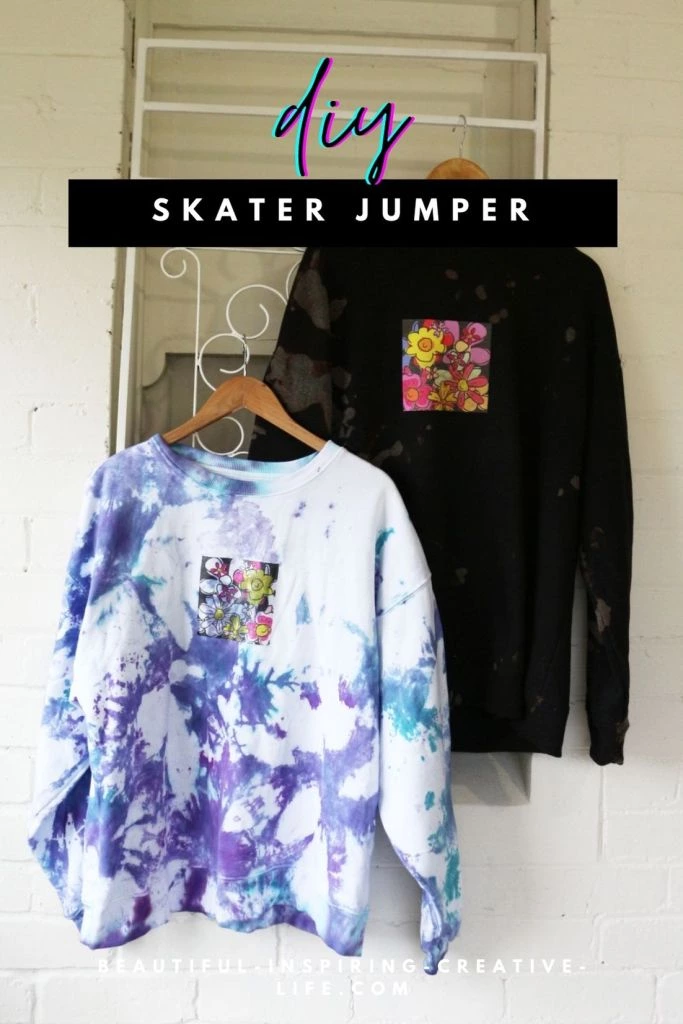
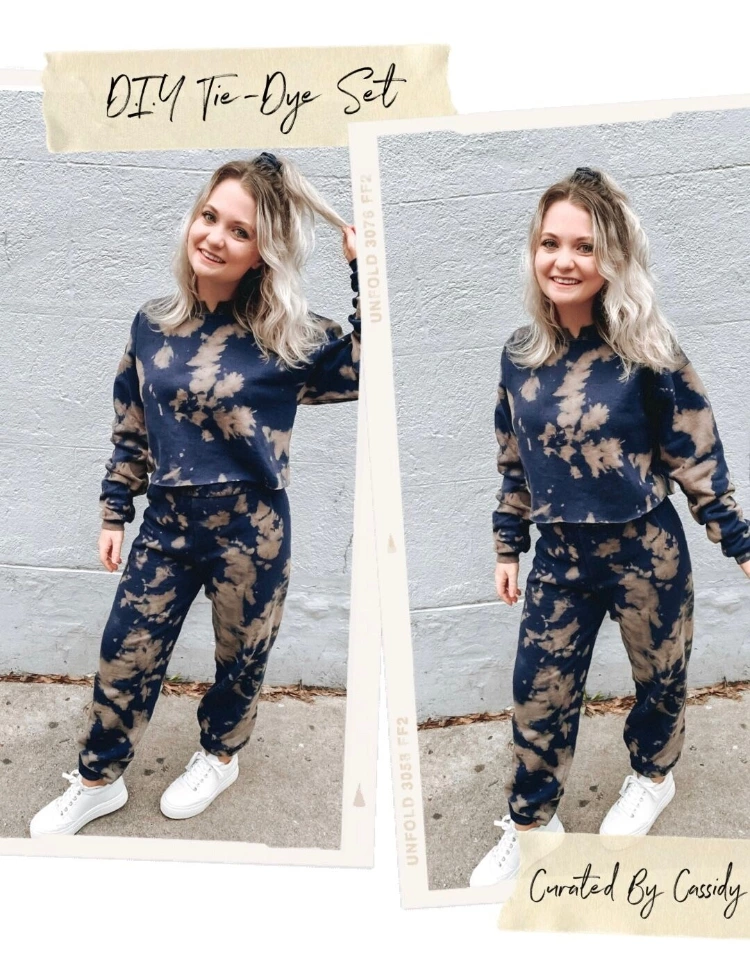
BEFORE AND AFTER PICS:
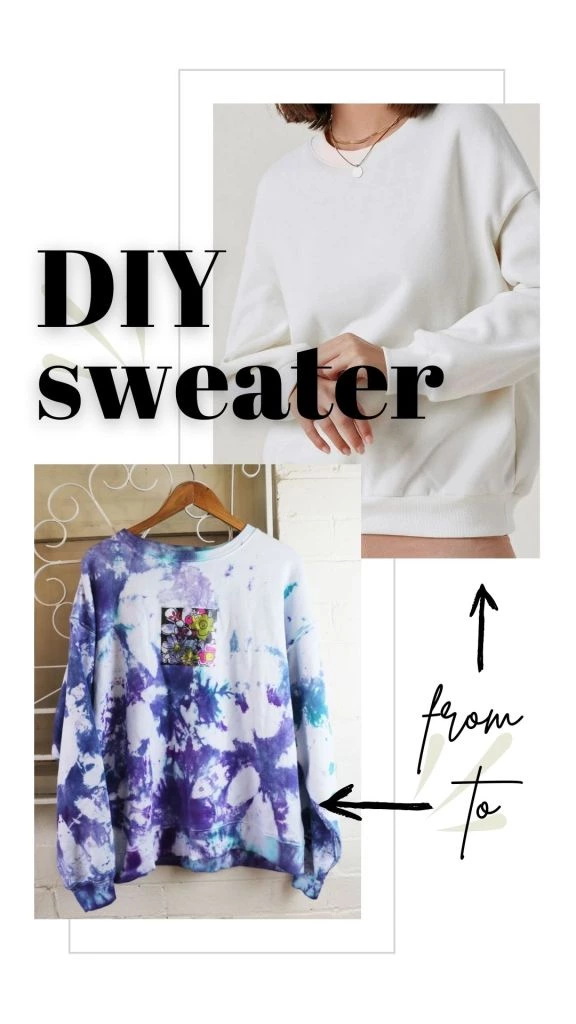
I know – it’s a hefty makeover, right? I love how this technique takes plain, boring clothing and turns it into something really funky and unique. Plus, you don’t have to stop at sweatshirts! You could easily DIY sweatpants, t-shirts, hooded sweatshirts and tons more.
(If you want to be really sustainable – which we always encourage – why not go thrifting and rework some thrift store finds?)
WHAT YOU NEED:
- A plain white sweatshirt (you want to make sure this is cotton for the best results. 100% cotton is ideal!)
- A blue toned tie dye kit (or pick whichever colour scheme you like!)
- A plastic tub
- Optional, for if you want to create a design like I did: iron on transfer paper & a printer
- Rubber gloves
The thing I love about this craft, especially in the age of lockdowns, is that you can easily source all the supplies from Amazon . . . and have them turn up next day! (Come to think of it – it’s a great last-minute DIY gift idea.)
HOW TO MAKE A DIY TIE DYE SWEATSHIRT:
As always, I would love it if you watched this tutorial in video format and subscribed to me over on Youtube too! (Don’t worry – it’s a super concise tutorial at just over a minute.)
- According to your tie dye kit’s specifications, mix up your dye. This is usually by just adding water.
- Put the clean sweatshirt in the plastic tub and use rubber bands to create bunches.
- Using the squeeze bottle, squirt your dye into those bunches, until you’ve reached a coverage you like. (Make sure that you’re wearing rubber gloves for this part.)
- Cover the sweater in plastic wrap, or an old plastic bag, and leave out to set for a few hours.
- Pop the sweatshirt in the washing machine to get out any excess dye. (To test this, run some water over a tie dyed part of the sweater and check that the water runs clear.)
- THE NEXT STEPS ARE OPTIONAL, FOR IF YOU WOULD LIKE TO CREATE A PRINTED DESIGN ON THE SHIRT
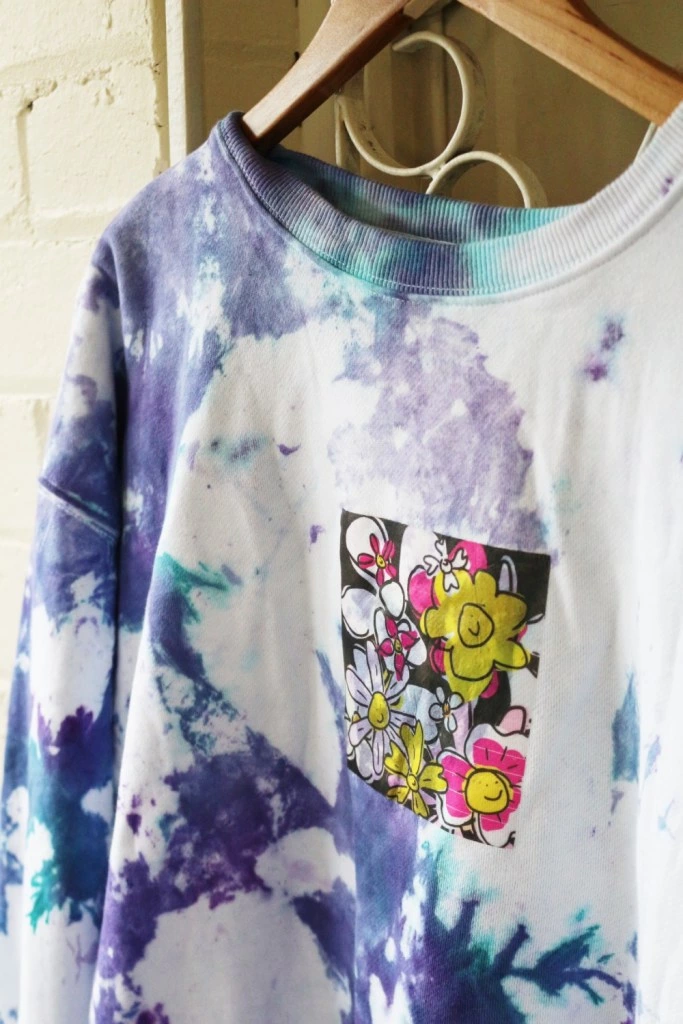
- Create a design you like (you can either draw your own, like I did, or use free image sources like FreePik and choose something you like).
- Print the design onto transfer paper and cut to size.
- Iron on the design according to your transfer paper’s specifications . . . and that’s it!
All in all, aside from the drying part, the tie dye aspect only took a few minutes!
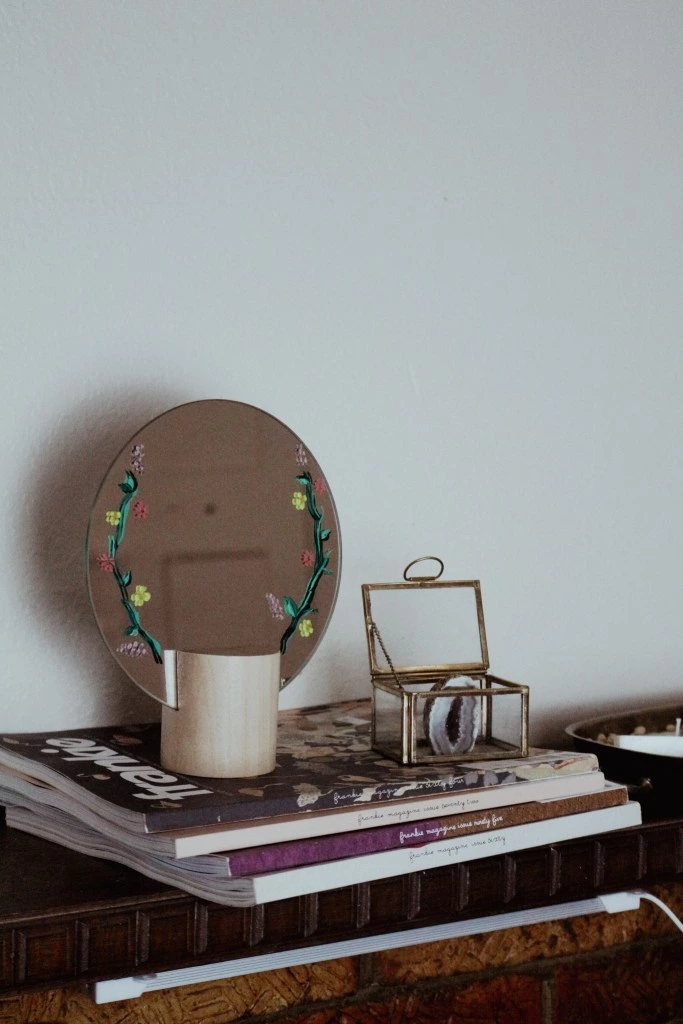
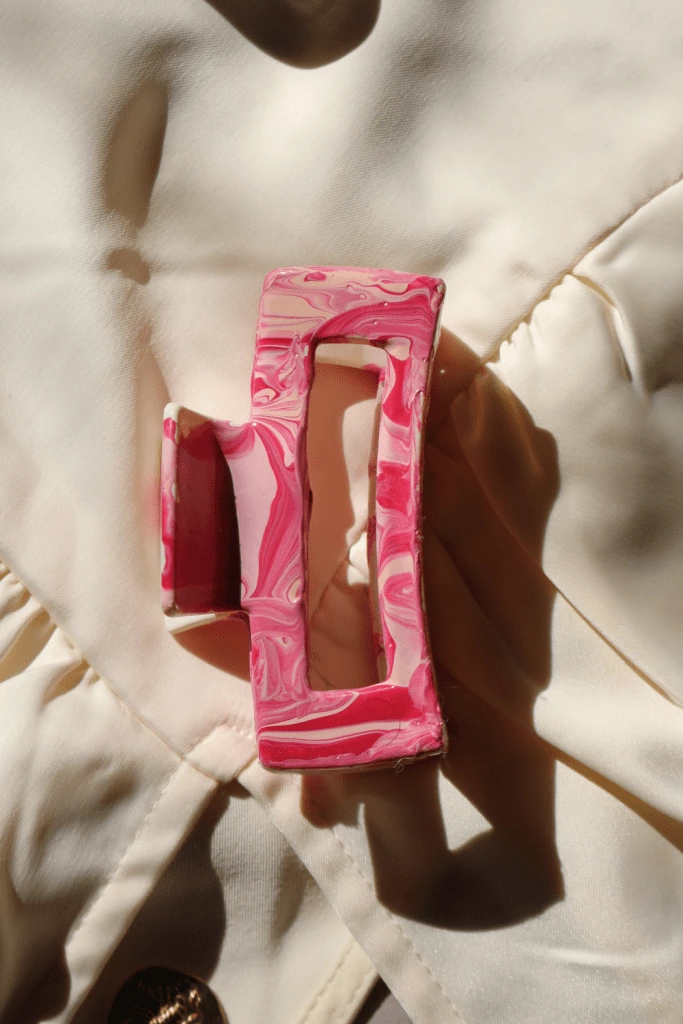
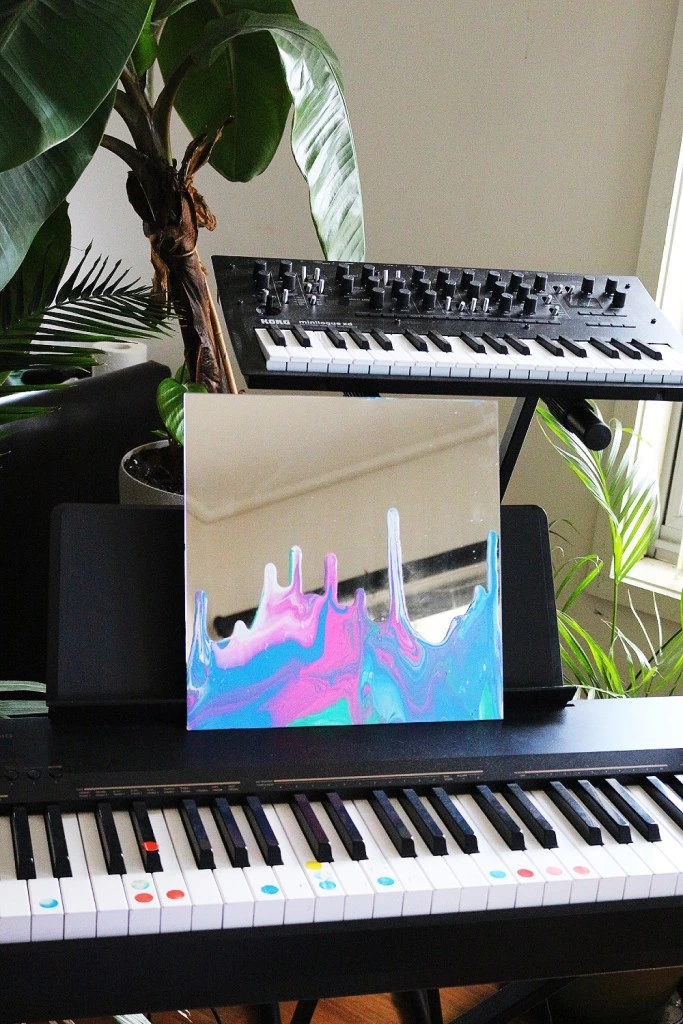
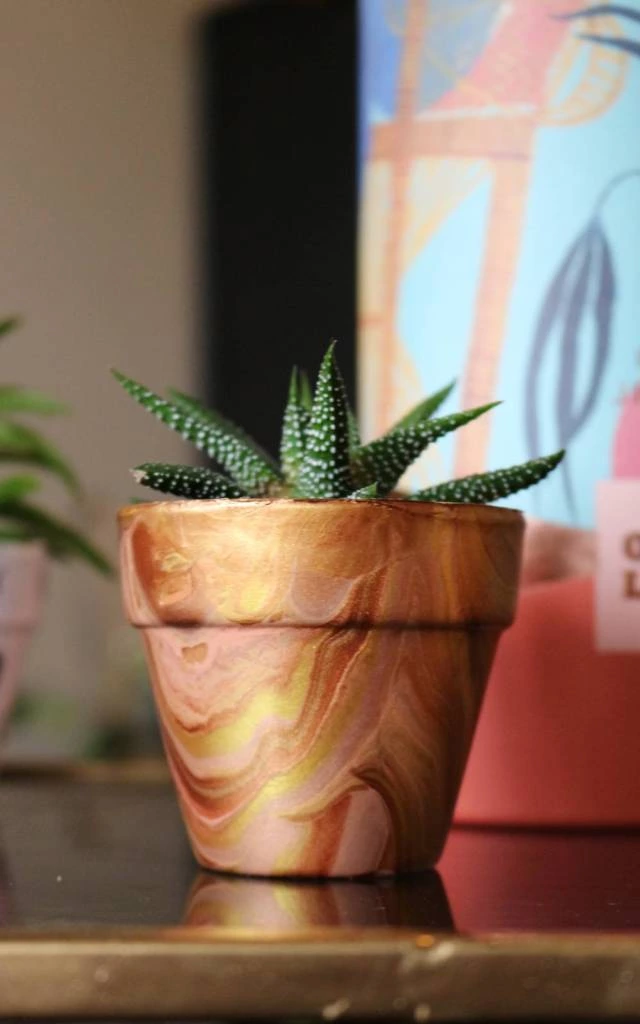
ENJOYING THIS PROJECT? HERE ARE SOME OTHER DIY PROJECTS YOU’LL LOVE:
If this project has got your creative vibes going, make sure you check out some of my other DIYs! I have lots of colourful and fun crafts you can make to compliment your new tie-dye sweater!
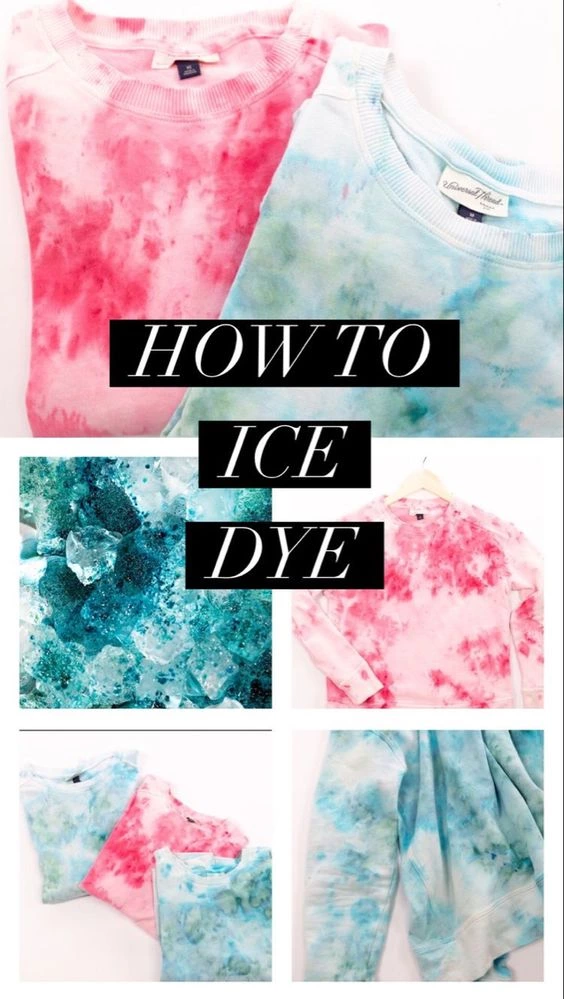
COMMON DYE PATTERNS TO TRY:
When you’re creating tie dye projects, there are some common dye patterns you can create. I personally prefer the random splotches of colour over these, but if you want to learn them check out this handy video!
TIE DYEING HOODIES WITH BLEACH
Another idea I mentioned in my video – and another easy finish option – is to use bleach! The steps are pretty much the exact same, except you need to make sure you’re working with a dark fabric.
You can use any kind of bleach for this – but apparently liquid is best. I used general gel bleach and it still turned out nicely. (If you decide on the darker finish, make sure you purchase dark fabric transfer paper.)
I hopefully don’t have to specify this, but: if you are working with bleach, make sure you are working outside or in a really well-ventilated area.
The thing I love about tie dying sweatshirts is that it’s so customisable! I created this sweater for my boyfriend; his style is kind of hipster/skater, so I played into that colour scheme a lot. However, you can totally fit this to suit you!
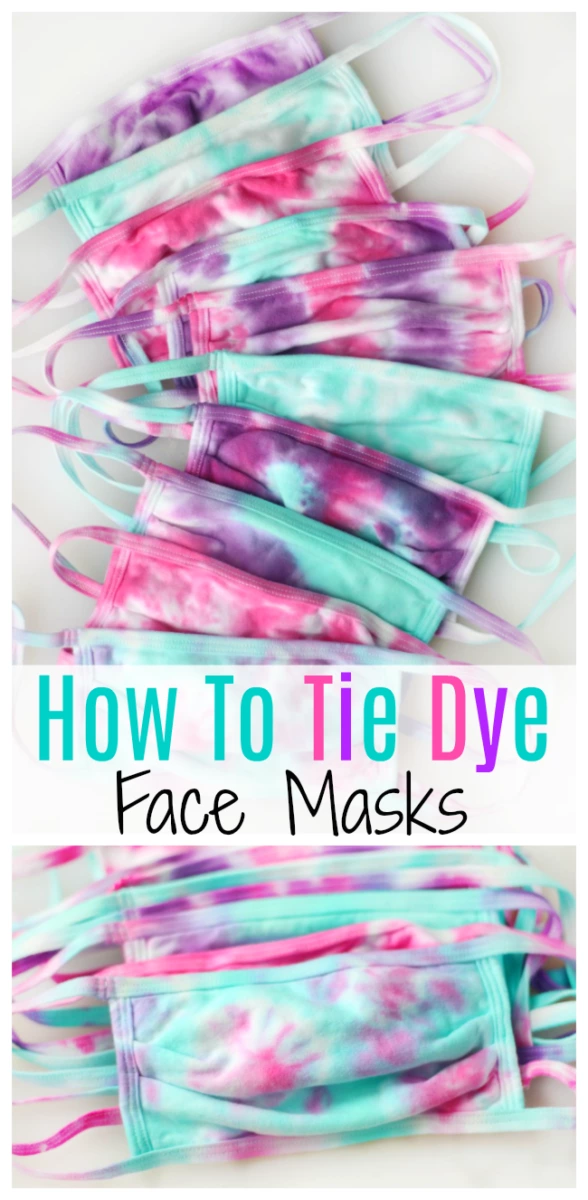
SOME MORE TIE DYE PROJECTS I’M LOVING:
Okay, so clearly I am having a bit of a moment when it comes to tie dye. (However . . . can you blame me? Look at how well this project turned out. There are so many ways I could make it even better! I’m definitely going to create a brown tie dye sweatshirt for myself. Maybe with some embroidered detailing… hmm.)
If you are also feeling the love, why not check out these other fabulous projects I’ve found? Most tie dye kits come with enough dye to make tons of clothing – so make yourself a tie dye sweatshirt, then get creative!
Alright, my loves, we shall end at the end. I hope you enjoyed this easy and fun craft tutorial! Are you a fan of tie dying sweatshirts? Would you recreate this yourself? What colour scheme would you use? Let me know your thoughts down below!
Peace,

Instagram // Twitter // Bloglovin’ // Youtube // Pinterest // TikTok
 |
 |
 |
 |

About Mia M.
I'm going through a bit of an existential crisis right now, I'll tell you about myself when I figure out if I'm real or not.
Leave a Reply
hey, i’m mia

tattoo lover, plant hoarder, DIY addict and overall stoner grandma
Creative Inspiration
Check out the FREE Gifts. Or latest free DIY eBooks from our best compilation.
Turn off Ad Block to reveal all the secrets. Once done, hit any button:
|
|
|
|