DIY Ring Holders & Trinket Dishes
by Mia M.
Hello, my beautiful people – you guys still remember me? Barely? Great, I can work with that!
If you’ve been following my blog since late last year, a. sorry about that, it’s usually a lot more consistent – you joined at a bad time. And b. you may remember my “12 Days Of Christmas DIYs” idea that just didn’t really pan out. Long story short, it’s exactly what it sounds like – I’d planned to share 12 different vaguely Christmas related DIYs right here on the blog and . . . definitely didn’t.

I did, however, actually create some DIYs – and some that may even be considered somewhat cute. So, now that I am attempting to be a better blogger again (give it two weeks, I’m sure that intention will fly out the window), I decided to finally get around to sharing them.
You ready? Let’s do this thing.

Today, we’re tackling a DIY I’m sure we’ve all seen sprawled across Pinterest in it’s various forms – the DIY ring dish/trinket holder. Uh, speaking of Pinterest, if you’re into this kind of thing, make sure you’re following my Pinterest account. I share loads of cool projects that will inspire you to bail on your Saturday plans.
The technique for this is actually really simple – and, once you’ve got your clay into a nice marble pattern, you can roll and shape it into any number of things. I tried out a few different finishes and colour combinations for maximum inspiration. (Also because the clay is super cheap and I may have bought far more than was initially needed. But I admit nothing.)
YOU WILL NEED:

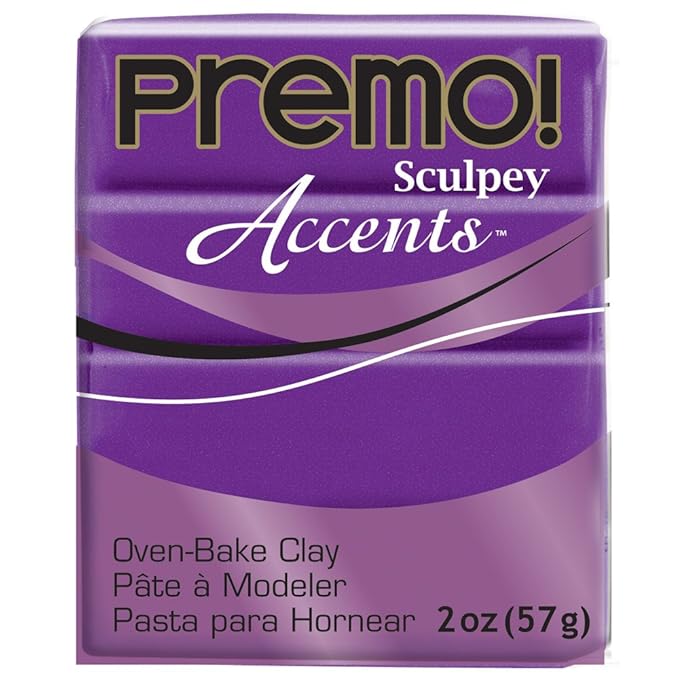
CLAY.
The literal substance these pretty holders are made of, so it makes sense that you need some. My favourite clay of choice is Premo because you can buy a block of one colour for $4 (which is like £2), it’s high quality as hell and the colour range is insane.
![]()
![]()
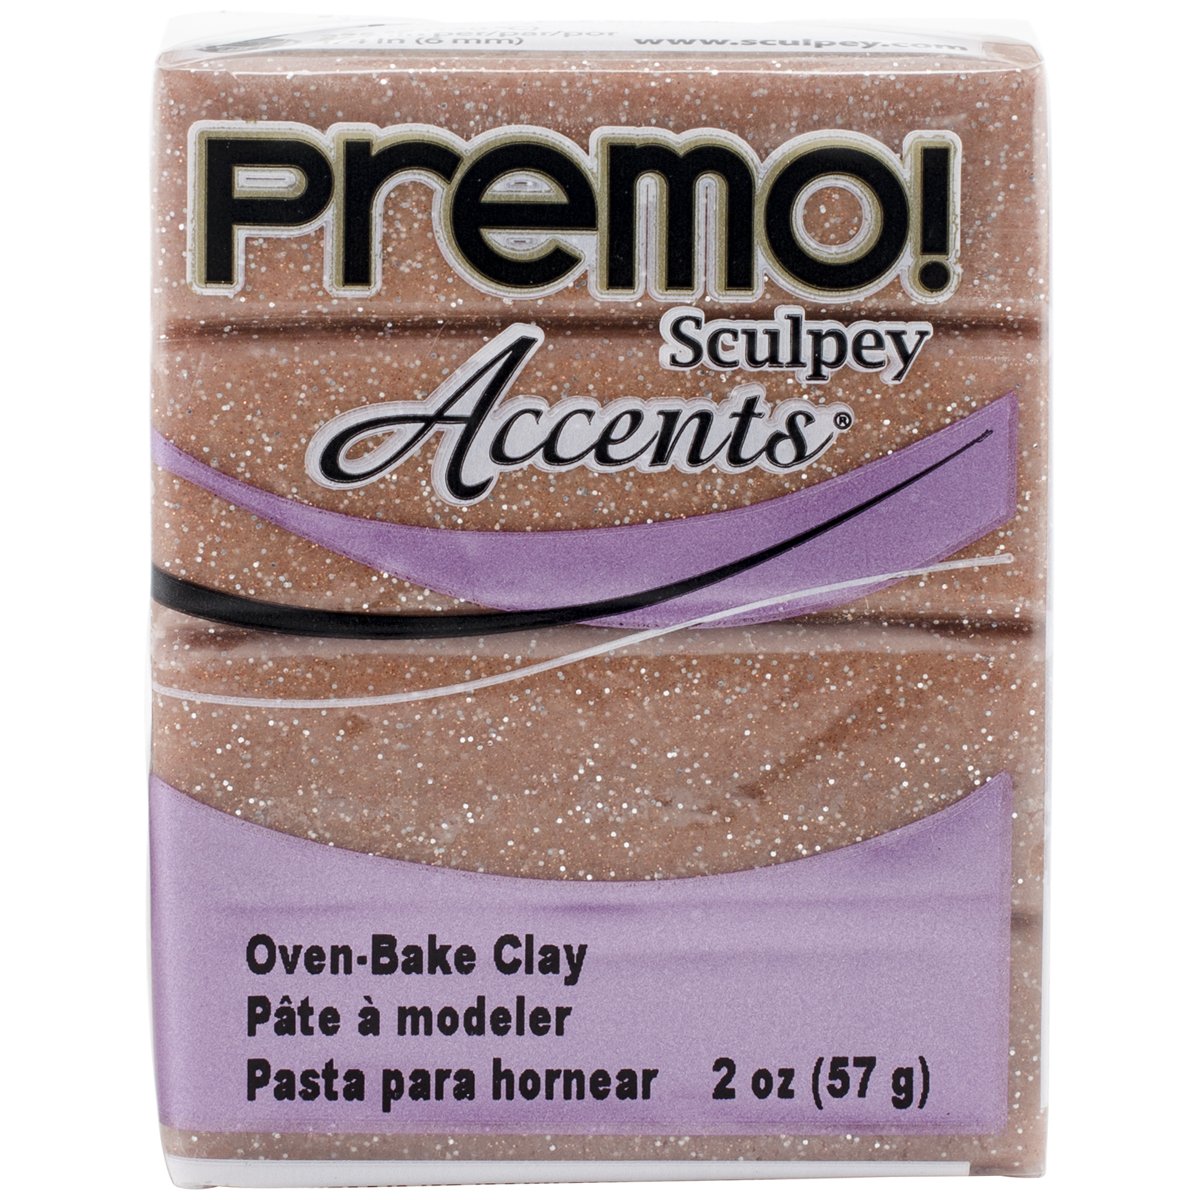
Personally, I’m a bit fancy-fancy and I find the flat, one-dimension finish really boring – so I tend to use at least one Premo glitter clay in my combination. This just adds a bit more depth to the finished product. Also, glitter.
![]()
![]()

(Duh) An Oven, A Rolling Pin, Something To Shape Your Dishes Around
I’m really not suggesting that you have to go out and buy these things, but they are required for the DIY. Bearing in mind, the clay doesn’t stick or stain anything, you can just use bowls to make the shape of the dish.
(Optional) Paint For Detailing
If you’d like to be a little more fancy-fancy, why not add some paint to the edges of your trinket dishes? Personally, I’m not that massively fussy on the paint for this – I actually used acrylic paint that’s used for leather because I had some spare from another DIY.

METHOD
As always on this blog, my method of choice is pretty simple.
1. Pick the colours you want for your marble effect & roll them out into thin snakes of clay

2. Twist these around each other

3. Roll out the twisted clay into a smooth, marbley twist

4. Mould the clay into a ball

5. From there, use your rolling pin to shape your clay however you want, cook it as per the instructions and wait!
And that’s it! I know, it’s simple, cheap and cute – I really do spoil you.

Okay, kids, that’s this DIY done! I hope you all enjoyed and may be tempted to give it a go . . . I can also confirm it is 3-year-old-child friendly, if that’s a selling point! Which of my finished products was your favourite? Let me know your thoughts down below!
Peace,

Instagram // Twitter // Bloglovin’ // Youtube // Pinterest
 |
 |
 |
 |

About Mia M.
Mia M. runs Beautiful Inspiring Creative Life, a personal blog covering DIY projects, bullet journaling, stationery, fashion finds, and interior inspiration. Her writing takes a creative-life-documentation approach — sharing the small aesthetic pleasures and practical projects that make daily life feel more intentional. Topics span hand-lettering and planner spreads, DIY room makeovers, thrift flips, affordable fashion, and honest reviews of the notebooks, pens, and craft supplies she actually uses. The blog began as a personal journaling project and grew into a creative-lifestyle space for readers building their own aesthetic routines, with posts that balance inspiration with the real-world budgets and time constraints of everyday hobbyists.
hey, i'm mia

tattoo lover, plant hoarder, DIY addict and overall stoner grandma
Check out the FREE Gifts. Or latest free DIY eBooks from our best compilation.
Turn off Ad Block to reveal all the secrets. Once done, hit any button:
|
|
|
|