Build-A-Blog: DIY Content Calendar Step-By-Step & Template!
by Mia M.
Hello, beautiful humans and welcome back to my blog! Today, we’re going to be behaving like functioning members of society and getting our shit together. How? By developing some content calendars!
FYI – I’m using this as a content calendar for my blog, but you can use this for any kind of projects or study. The tutorial & template are below so feel free to jump to that if you want to skip the blogging info.
What are content calendars?

Exactly what they sound like – a calendar that you plot out your upcoming content and marketing projects on. For bloggers, you may want to write in what posts are going up on what days; when Twitter chats are being hosted; photo shoot days and more.
Why? Consistency and preparation. Let’s get into what this means a bit more.

1. Consistency
If you’re trying to develop a successful blog, one of the most important things is consistency. And not just for you – it’s important for your traffic and growth.
First and foremost: simple maths. The more you post, the more opportunities you’re opening up. The more opportunities to gain followers – who will in turn boost your future posts. The more chances to start ranking on Google, which is where you can start earning the big bucks.

I created a very, very rough doodle of the lifetime of a blog post to illustrate just how much you can get out of each post.
Not to mention your audience. If you’re trying to develop an engaged audience, posting sporadically every three months isn’t going to cut it. I know that one of the first things I look at when I’m deciding whether to follow someone is how active they are. Do they actively post? Are they engaged with their community?

Developing a content calendar helps you to plan ahead and post consistently.
2. Preparation
Preparation is the P-word that cancels out our good friend procrastination. Mainly because, if utilised effectively, the two can be one and the same.
When you’ve got a content calendar, you effectively have an overview of what’s coming up on your blog for the next month – and what tasks you need to complete.

One of the big benefits of this is that you can work in dribs and drabs – if you’re bored of writing one post, why not take pictures for another? Your OOTD photos just aren’t working out for you? That’s fine, finish editing that video instead and come back to it later.
When you have a content plan, it breaks up the mammoth task of creating content into small, actionable steps. You can easily get ahead of schedule and make sure your virtual space is organised as all those beautiful offices saved to your Pinterest boards.
So you’re convinced! You know this is the next step towards being your best self and running your best blog! But how does one create a mystical content calendar?
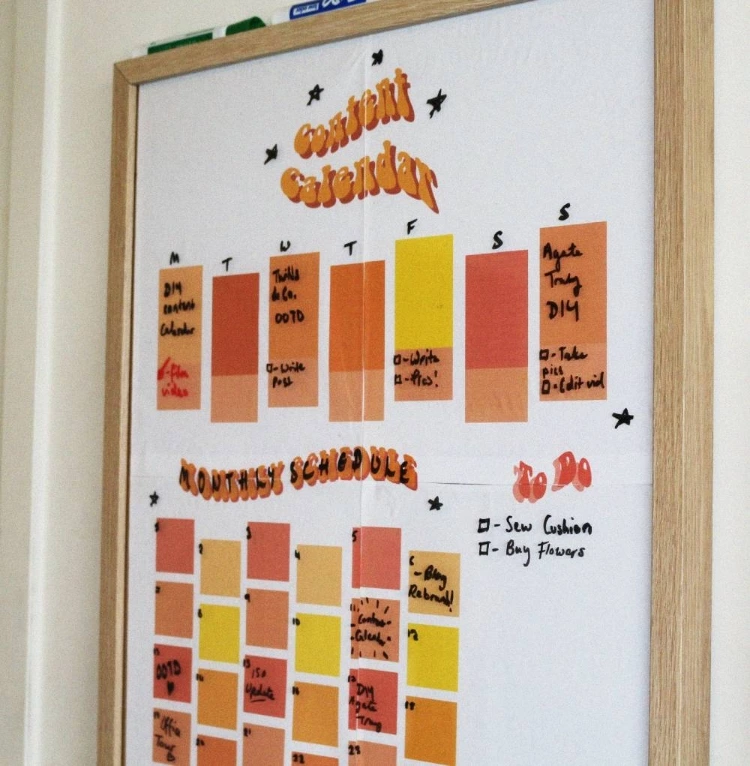
Easy as pie. You use my cheeky template!
DOWNLOAD IMAGE FILES HERE (For those of you who want to edit this yourself, I’ve also included the .psd file. If you don’t have Photoshop, the free dupe Photopea is available online with no download. If you want to edit fonts or anything, head on over there!)
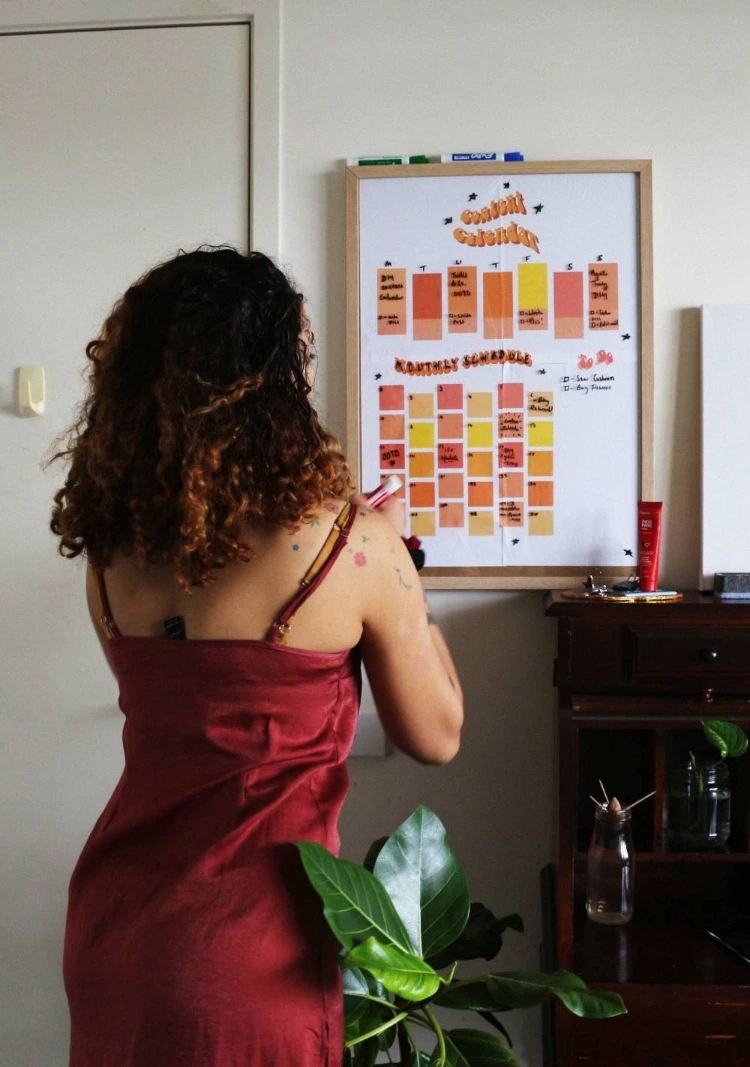
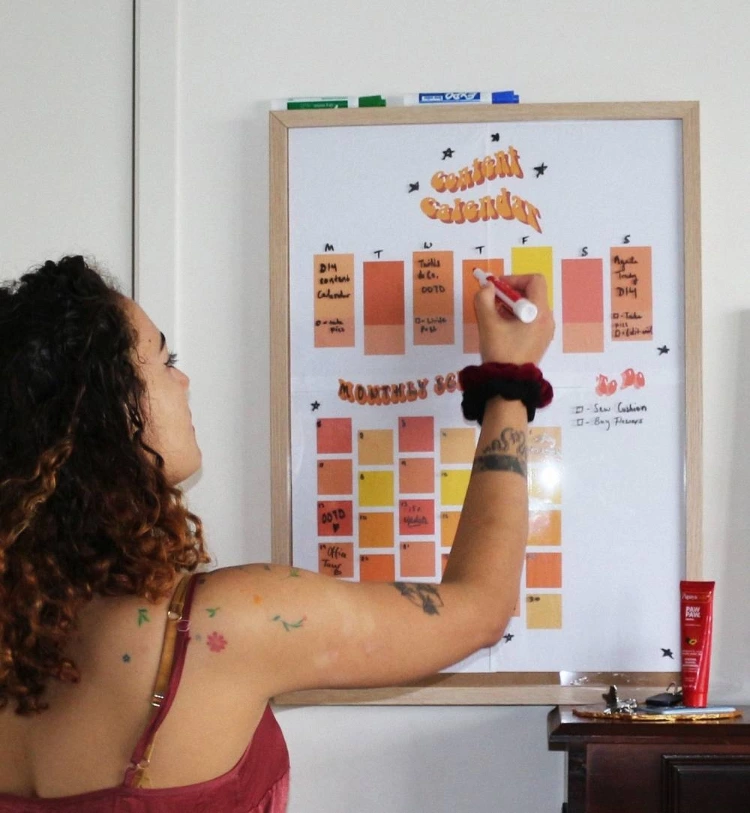
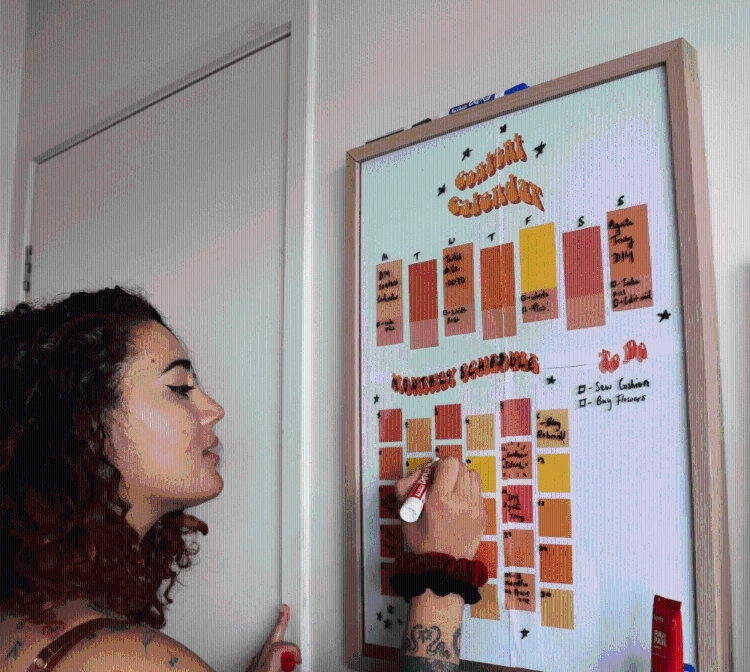
Because we all know I love a DIY spin to anything I can get my hands on, I decided to make a custom calendar. If you want to learn how, or just want to sit down and have a chat with me, feel free to watch that conveniently placed Youtube video and find out! *Wink wink*.
Anyhoo, that’s about this post done. This is the first post in a probably-rather-sporadic series called “Build Your Blog“. Essentially, this will just be me undertaking things to improve my website and sharing them with you, so we can all grow our blogs together! Did you enjoy this DIY? Would you try it yourself? And what did you think of the video? Let me know your thoughts down below!
Peace,

Instagram // Twitter // Bloglovin’ // Youtube // Pinterest
 |
 |
 |
 |

About Mia M.
I'm going through a bit of an existential crisis right now, I'll tell you about myself when I figure out if I'm real or not.
Leave a Reply
hey, i’m mia

tattoo lover, plant hoarder, DIY addict and overall stoner grandma
Check out the FREE Gifts. Or latest free DIY eBooks from our best compilation.
Turn off Ad Block to reveal all the secrets. Once done, hit any button:
 |
 |
 |
 |