DIY: Dried Flower Quote Board
by Mia M.
Hello, my beautiful blogging friends – how we all doing today? Feeling good, feeling fine? Great – that’s what we want to hear! I apologise for the disappearing act, but it was my last month in Melbourne so I really wanted to spend it offline. Plus, let’s face it, by this point nobody expects consistency from the mess that is my blog.
We are long overdue a big catch up (especially as I’m writing this from back in London!), but I’ve been back here for less than 24 hours and, to be honest with you, I’m not awake enough to make anything new. So we’re using something I made last week. These babies . . .


Such pretty. Such Pinterest.
These babies are relatively easy to make (always a good sign!) and the equipment is pretty cheap. Not to mention, all the stuff you need to make these you can also make crystals with. Which is always a win. So let’s get to it!
WHAT YOU NEED:

**Links are affiliate links**
1. Pressed Flowers
What else would we make that pretty background with, right? I actually got my pressed flowers really cheaply from Aliexpress (the seller I used got them to me in a week!) but you can also get them from Amazon.

Pressed Flowers – Aliexpress – (Free Worldwide Delivery) – $1.68-$4.99
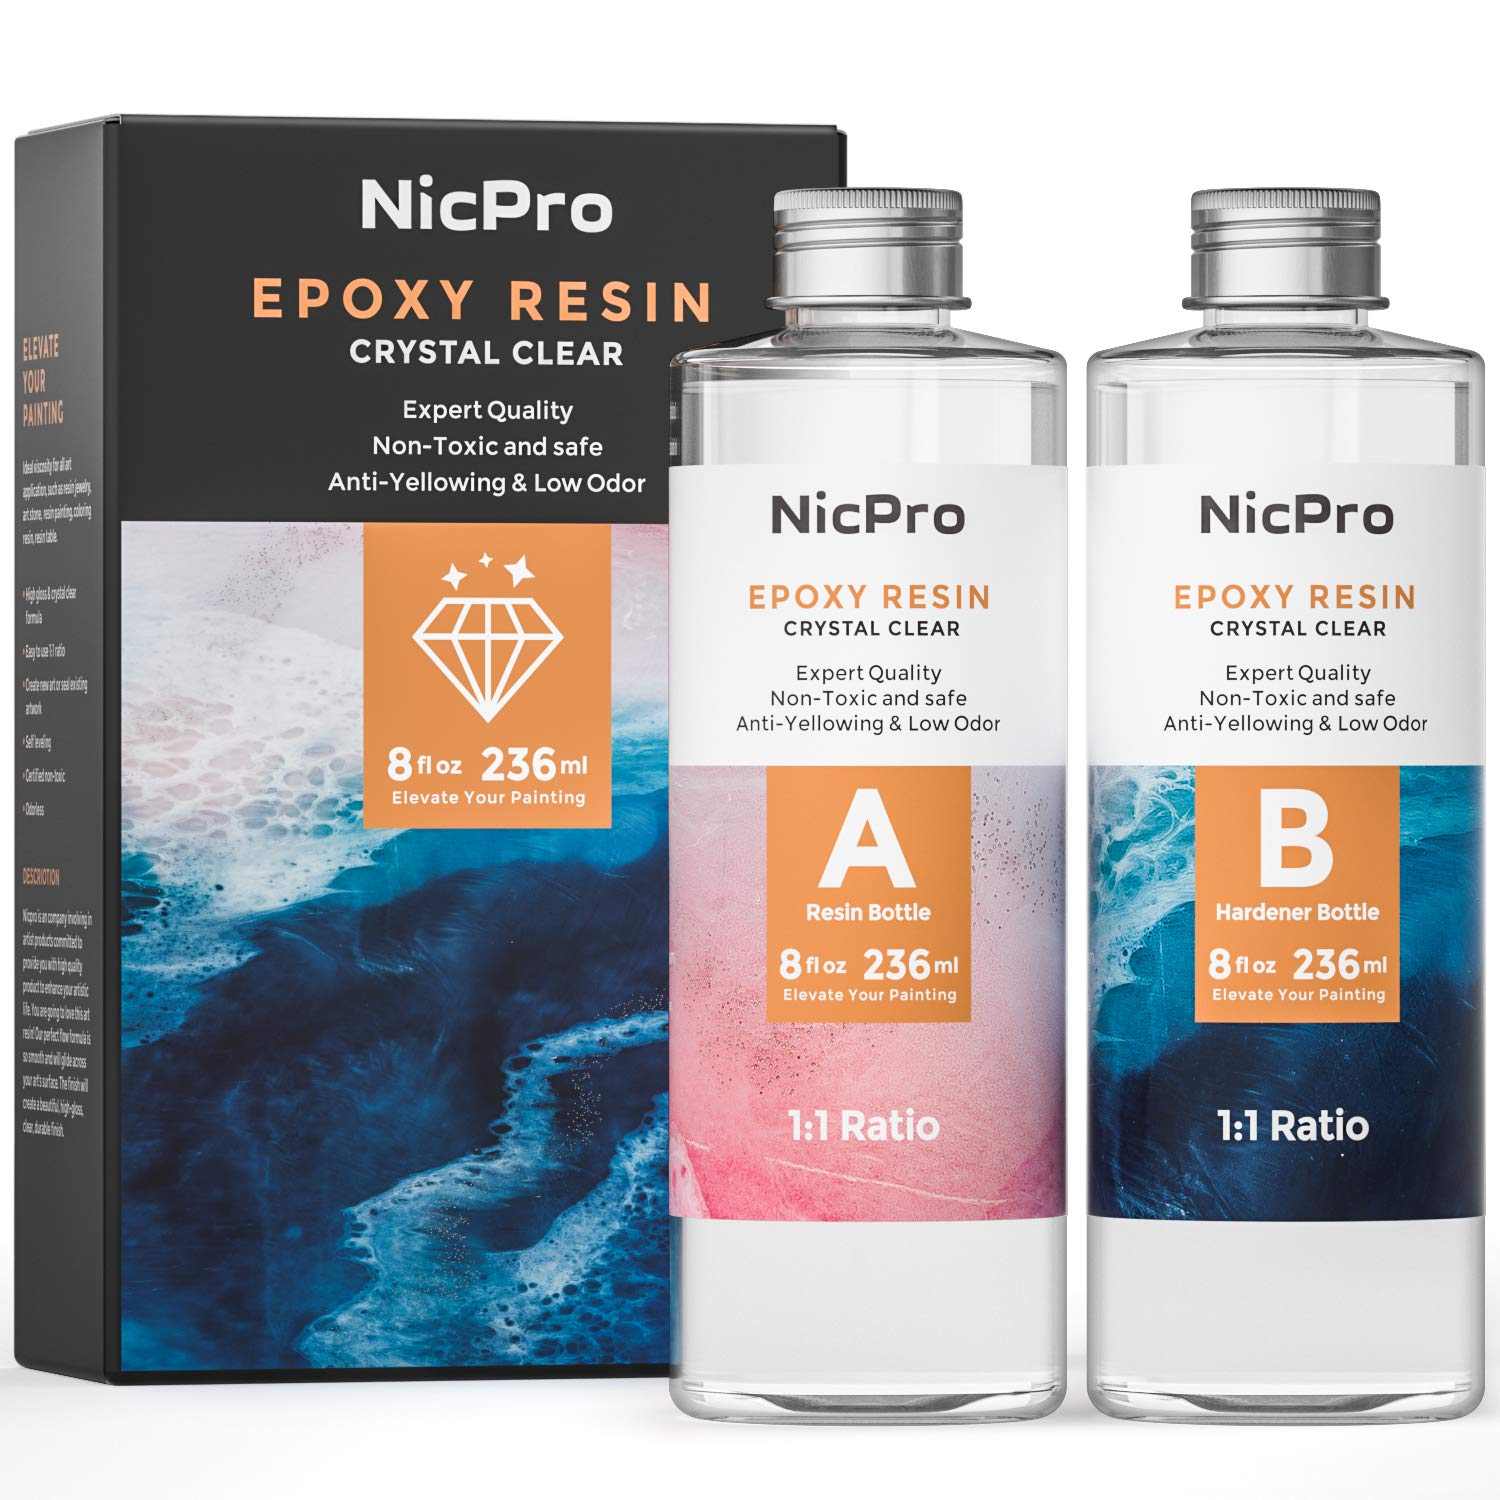
2. Resin
Resin is the material that the board itself is made of; when it dries, it becomes hard and transparent.
![]()
![]()
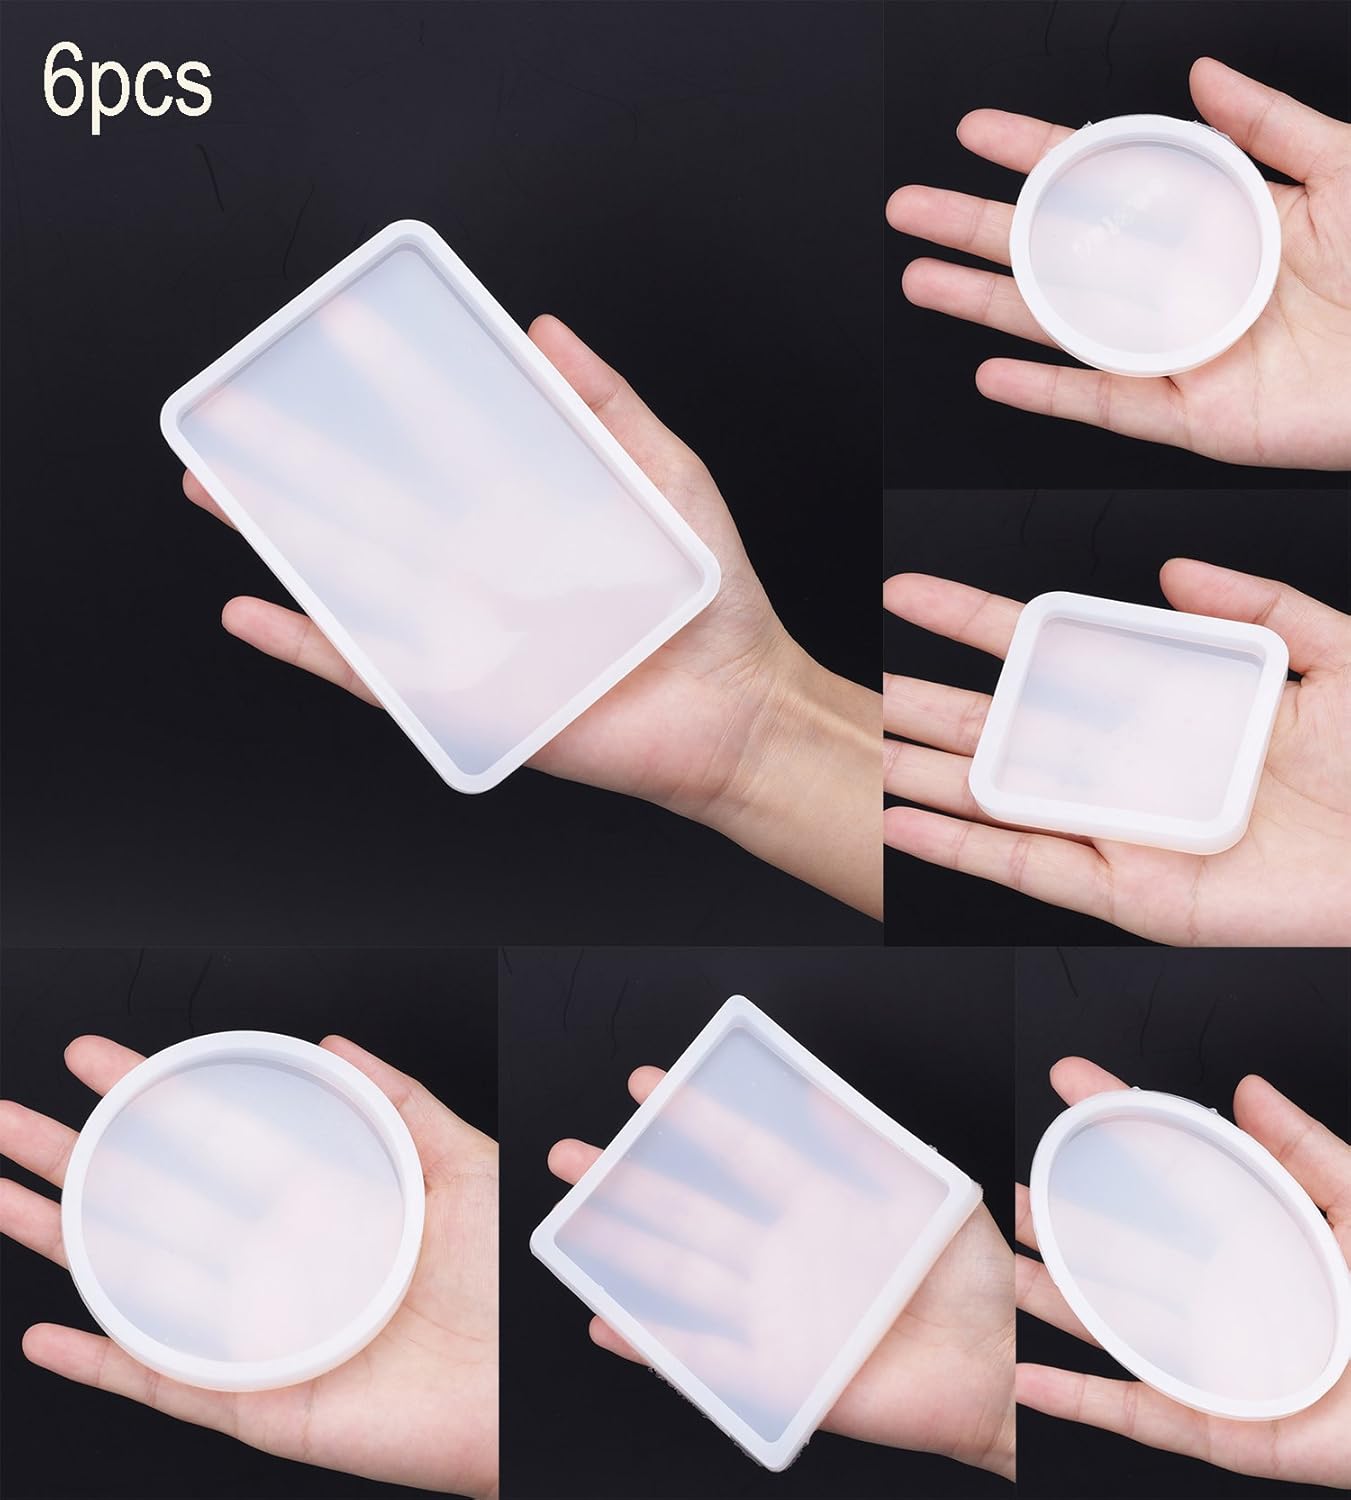
3. A Mould
To get the shape of the board, we need something to mould it.
![]()
![]()
4. Acrylic Paint Pen

![]()
![]()
Acrylic paint is how we’re going to write on top of the finished product!
HOW TO MAKE:

- Mix your resin. Make sure you’re wearing gloves and are doing this on a covered surface. Resin gets bloody everywhere – and it’s an absolute mission to get rid of. Play it safe, kids, trust me. Most resin kits use the formula 2:1 – if you’re lazy like me, shot glasses make a great measuring tool.
- Lay out your pressed flowers in the mould.
- Pour the resin.
- Leave to set overnight. And, for the love of God, don’t touch it. You’ll ruin the surface of it – I know from experience.
- Once dry, use your acrylic paint pen to write whatever message you want. I freestyled it because . . . well, mostly because it was not a planned event. However, you could always print off a quote and trace it, or use a vinyl sticker.

As is notorious on this blog, this idea stemmed from a wanting to create a DIY gift for my mumma’s birthday. In reality, it took me so bloody long to get around to it that . . . well, I just bought her a gift instead. However, I still stand behind this idea – it’s a super cute gift.
(If you’ve missed all the various gifts that have spawned from my mother’s birthday . . . well, I’m just going to plug them below. Self promotion is the purest form of self love.)


If you’re a fan of DIYs like myself, make sure you’re following my DIY boards on Pinterest! The first of full of fabulous DIY tutorials and inspirations, the second is full of DIY gift ideas.


And with that I think we can call this post a wrap! Thanks for paying attention to me for this long, you champs, I hope you enjoyed all the pretty pictures. I’m going to be making a big effort to get back into blogging over the next few months, so hopefully these posts won’t be a rarity! Which of these boards was your favourite? Would you try these out? Let me know your thoughts below!
Peace,

Instagram // Twitter // Bloglovin’ // Youtube // Pinterest // Etsy
 |
 |
 |
 |

About Mia M.
Mia M. runs Beautiful Inspiring Creative Life, a personal blog covering DIY projects, bullet journaling, stationery, fashion finds, and interior inspiration. Her writing takes a creative-life-documentation approach — sharing the small aesthetic pleasures and practical projects that make daily life feel more intentional. Topics span hand-lettering and planner spreads, DIY room makeovers, thrift flips, affordable fashion, and honest reviews of the notebooks, pens, and craft supplies she actually uses. The blog began as a personal journaling project and grew into a creative-lifestyle space for readers building their own aesthetic routines, with posts that balance inspiration with the real-world budgets and time constraints of everyday hobbyists.
hey, i'm mia

tattoo lover, plant hoarder, DIY addict and overall stoner grandma
Check out the FREE Gifts. Or latest free DIY eBooks from our best compilation.
Turn off Ad Block to reveal all the secrets. Once done, hit any button:
|
|
|
|