DIY: Cosy Reading-Nook Floor Cushions (UO Inspired)
by Mia M.
Hello, beautiful people and welcome to the collab post that is going to set you up for the next stretch of stay-at-home orders! Today I’m partnering with the lovely Anika from Chapters Of May – and we’re going to be helping you to create a dream reading nook!
It’s not something I mention all that frequently on my blog, but I am an avid reader. I adore books and writing; the first blog I created was actually dedicated to creative writing exercises!
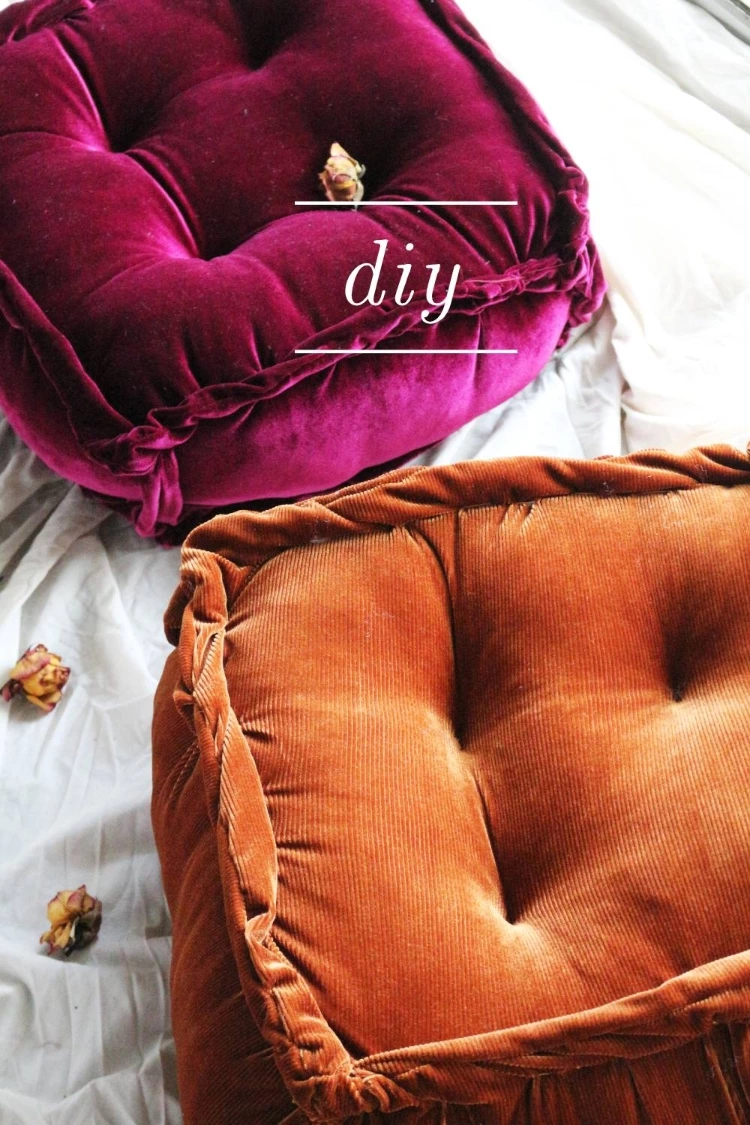
Ever since I was old enough to read, I have always wanted a little reading nook. A tiny, cosy corner of space dedicated to getting lost in the world between the pages of a book. (And, naturally, a corner for me to decorate. You guys know how your girl loves her shiny things.)
So, for this two-part collab, I’m going to be sharing some cosy reading nook DIYs . . . and Anika is going to be sharing some cosy reads to snuggle up in!
I would love for you guys to check out this tutorial in video format and subscribe to me over on Youtube too!
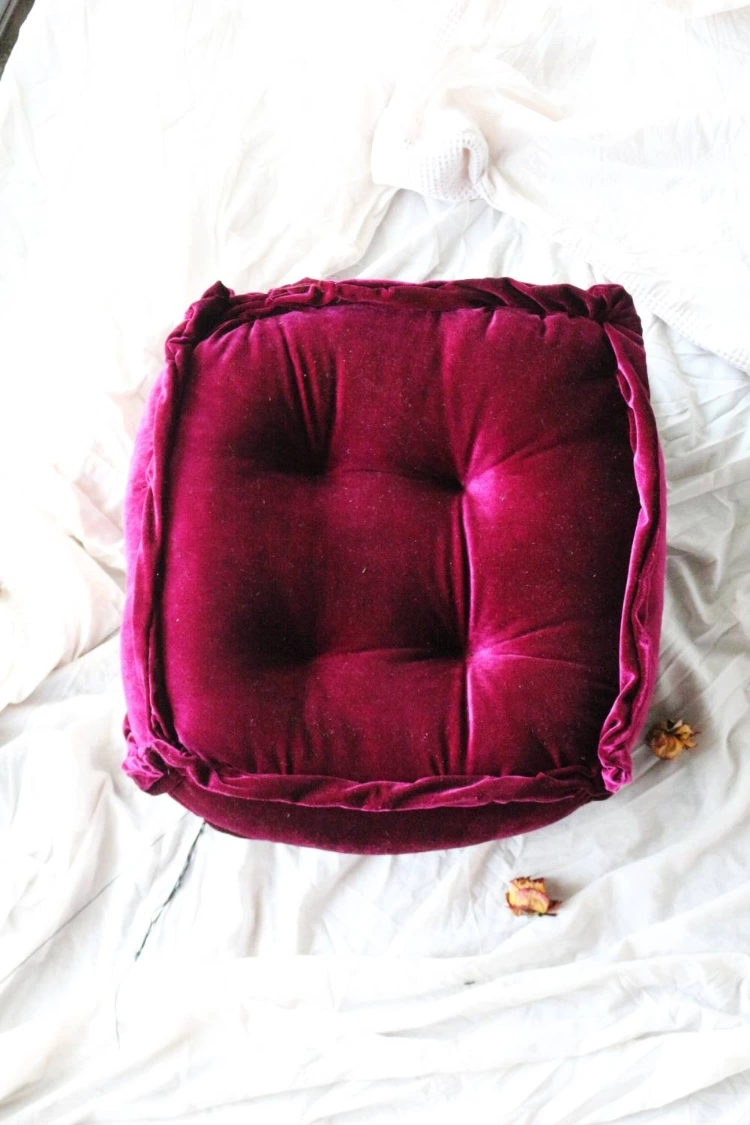
DIY Square Floor Cushions (Inspired By Urban Outfitters!) – No Sewing Machine Needed!
This DIY is actually similar to my Urban Outfitters inspired DIY floor mattress (turned out super cute before our foster pup destroyed it – you should check that tutorial out). That shameless self promo done, I actually think these cushions turned out even better!
Considering the real thing retails for $50 and I made these for the equivalent of $8 . . . Houston, I think we have a winner!
YOU WILL NEED (per cushion):
- 1m of velvet fabric in your chosen colour – Amazon US – $10.90 per yard // Amazon UK –
- Pillow stuffing (I used a cheap 2-pack of pillows per cushion) Amazon US – $12// Amazon UK – £8.65
- Black thread & a needle! (We’re hand-sewing this baby, so you don’t even need a sewing machine.)
I know – something so beautiful and yet so simple.
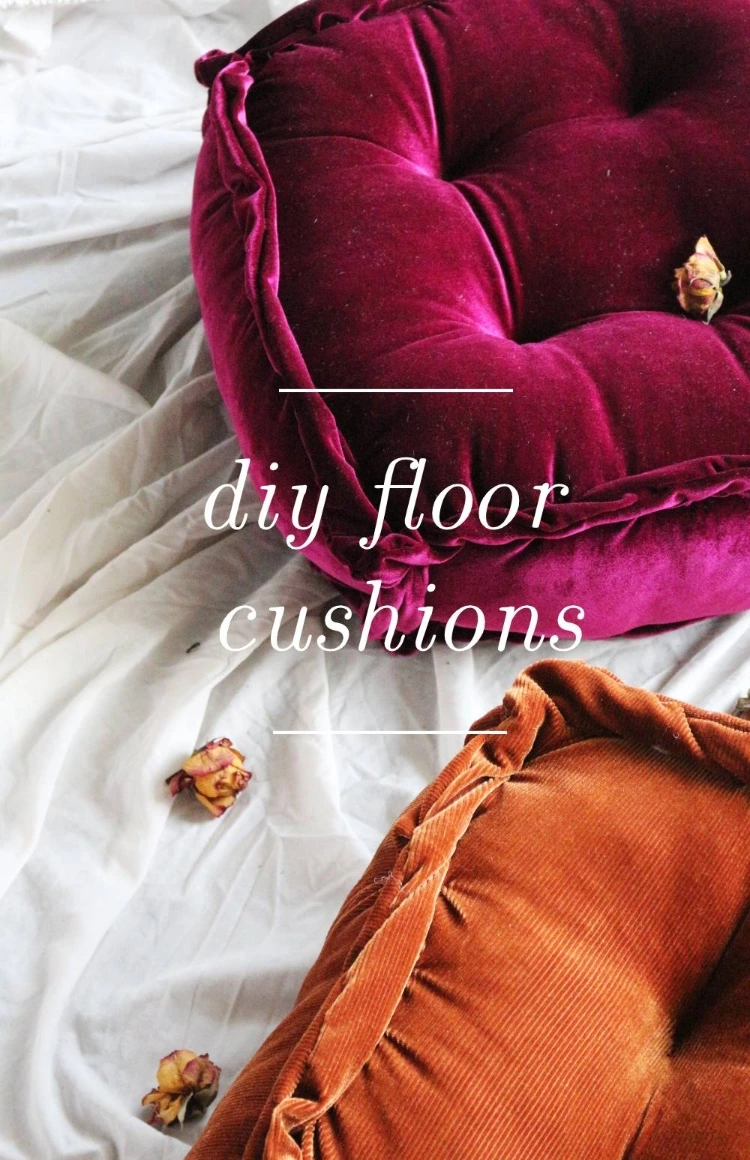
STEP-BY-STEP:
- Cut the pillow panels out of your fabric – 2 panels of 40cm x 40cm and 4 panels of 40cm x 6cm. My pillows are 40cm x 40 cm with a depth of 6cm – but you can always adjust the sizes depending on your space.
TIP: Use super sharp/fabric scissors for this. Normal scissors won’t give you a clean cut and are a bitch to work with. - Thread your needle and tie a knot in the string at the far end. This knot will keep your string in place as you work.
- Turn your fabric panels inside out so you’re working with the non-velvet side. Using a straight running stitch, sew the 6cm x 40 cm panels together at the 6cm edge. I did two rows of straight stitches to get this nice and secure.
- Once you’ve got the perimeter of your cushion sewn together, sew the top panel on using the same running stitch method. (Still inside out.)
- Then sew the bottom panel on, but make sure to leave a gap big enough to fit your fist in.
- Turn the cushion inside out and fill with your pillow stuffing. I literally just ripped apart some cushions I bought from Kmart for this.
- Sew closed the gap you left for stuffing. And pat yourself on the back because Houston we have a cushion. Now, onto the fancy edges.
- To get the chunky edging the Urban Outfitters cushions have, we’re essentially going to create a really exposed seam. (Seams being where we connect two pieces of fabric – what you were doing before.)
- We’re going to use the same technique for all of our edges, so pick whichever one you like to start. Pinch 2cm in from the seam and start to do a loose running stitch from one side to another (making sure to always work that 2cm away from the edge).
TIP: pull the thread tighter to create tension, which gives your edges that really bunched appearance. - Repeat this for all edges.
- Mark out where you want the dips in your cushion to be (I had 4 dips, but you can have as many as you like).
- (I used embroidery thread for this step, but if you don’t have it you can sub in normal thread) Tie a knot at the bottom of your thread and bring the needle back up through your mark, then bring it back through the cushion. Rinse and repeat until your tuft is the depth you want.
- Repeat this for all your marks . . . and then you’re done!
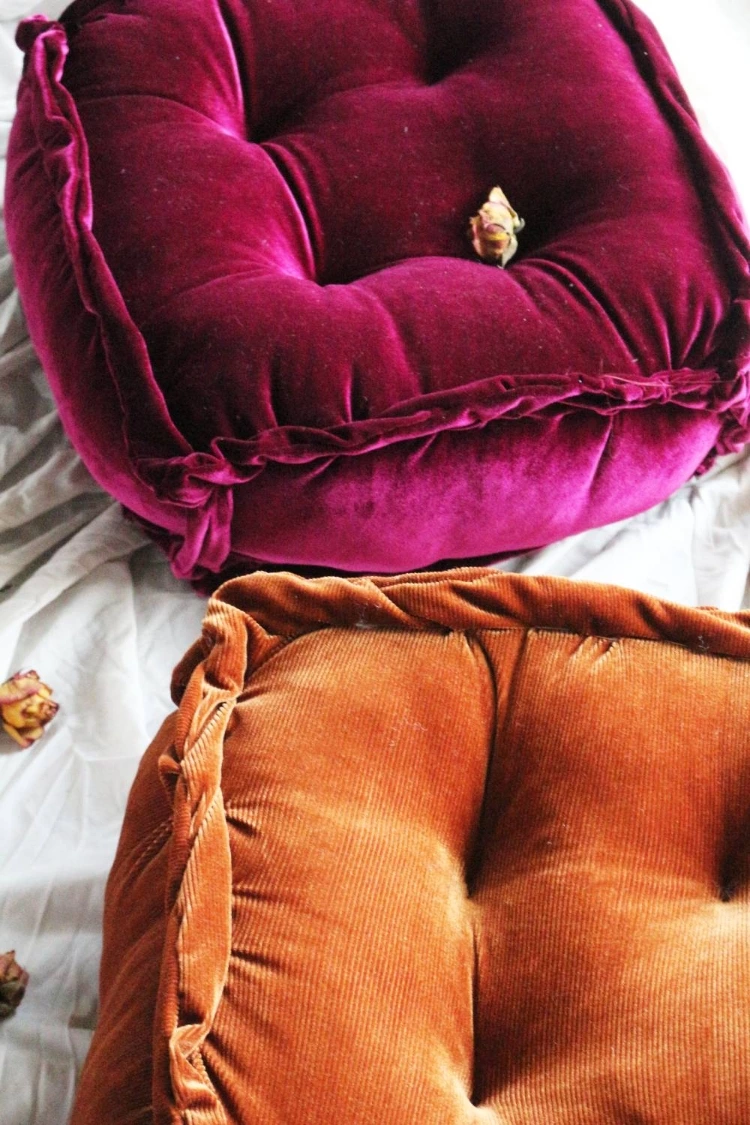
I made these pillows in two different colours, so I have a psuedo-mattress going on here. I may potentially make a couple more of these and have a little stacking situation going on! We shall see, we shall see . . .
Anyways, that’s this post all nicely wrapped up! I now have a perfect little reading space – and I shall have to invest in some of Anika’s cosy reads to settle in with! (Which reminds me – go check out her post!)
If you’re an avid crafter, make sure you’re following my DIY boards on Pinterest!
I hope you guys all enjoyed this fun craft. Would you recreate this yourselves? Which colour did you prefer? Let me know your thoughts down below!
Peace,

Instagram // Twitter // Bloglovin’ // Youtube // Pinterest
 |
 |
 |
 |

About Mia M.
I'm going through a bit of an existential crisis right now, I'll tell you about myself when I figure out if I'm real or not.
Leave a Reply
hey, i’m mia
tattoo lover, plant hoarder, DIY addict and overall stoner grandma
Check out the FREE Gifts. Or latest free DIY eBooks from our best compilation.
Turn off Ad Block to reveal all the secrets. Once done, hit any button:
 |
 |
 |
 |