Thrift Flip Memo Board ft. Aimsy’s Antics!
by Mia M.
Hello, gorgeous humans and welcome back to collab month! Today’s post is with the wonderful Aimsy’s Antics – a fellow craft blogger who is absolutely delightful – and we are going to be showing you how to get some bang for your buck with some thrift flips!
Good for the bank account, good for the environment . . . everyone wins. (Not to mention, good for my Pinterest stats.)
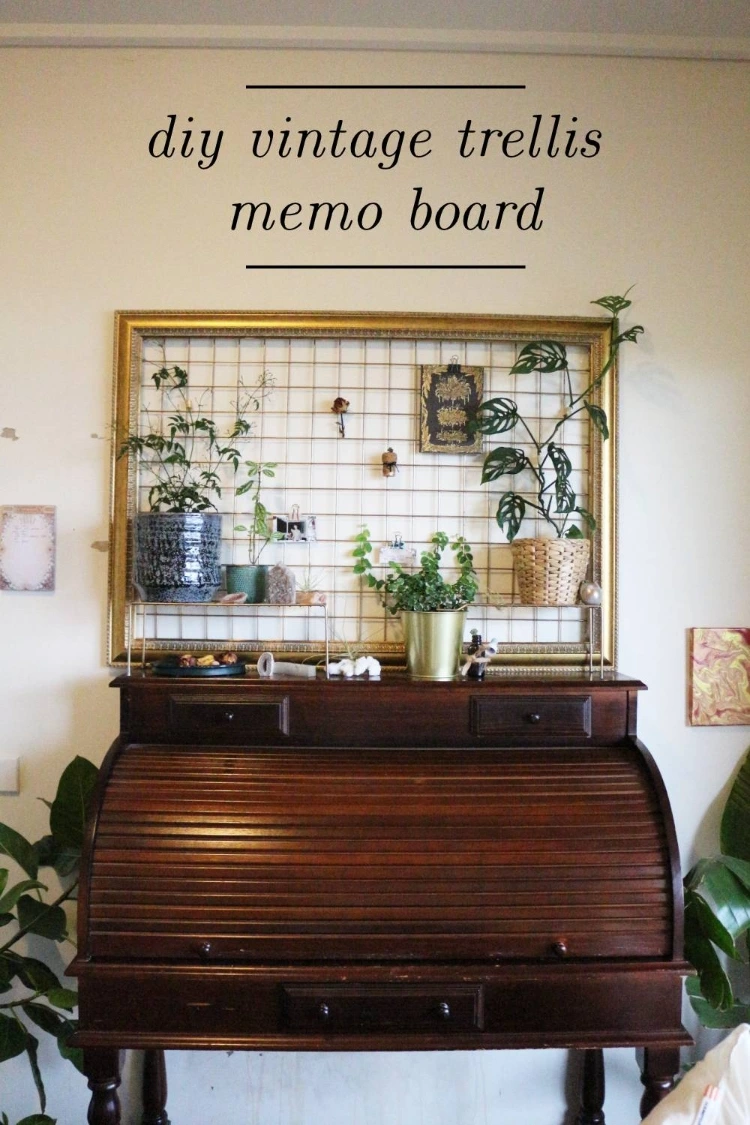
This idea is something I’ve had for – I shit you not – years. Beautiful ornate gold frames? Re-purposing vintage furniture? Plants? Is there a craft that could signify me more? I think we can all agree on a resounding no.
The first iteration of this idea actually made its way onto blog around a similar time last year! I created a little vision board from a thrifted photoframe. (And I’ll attach a link to that post here – if you’d like some alternative decoration ideas, have a read.)
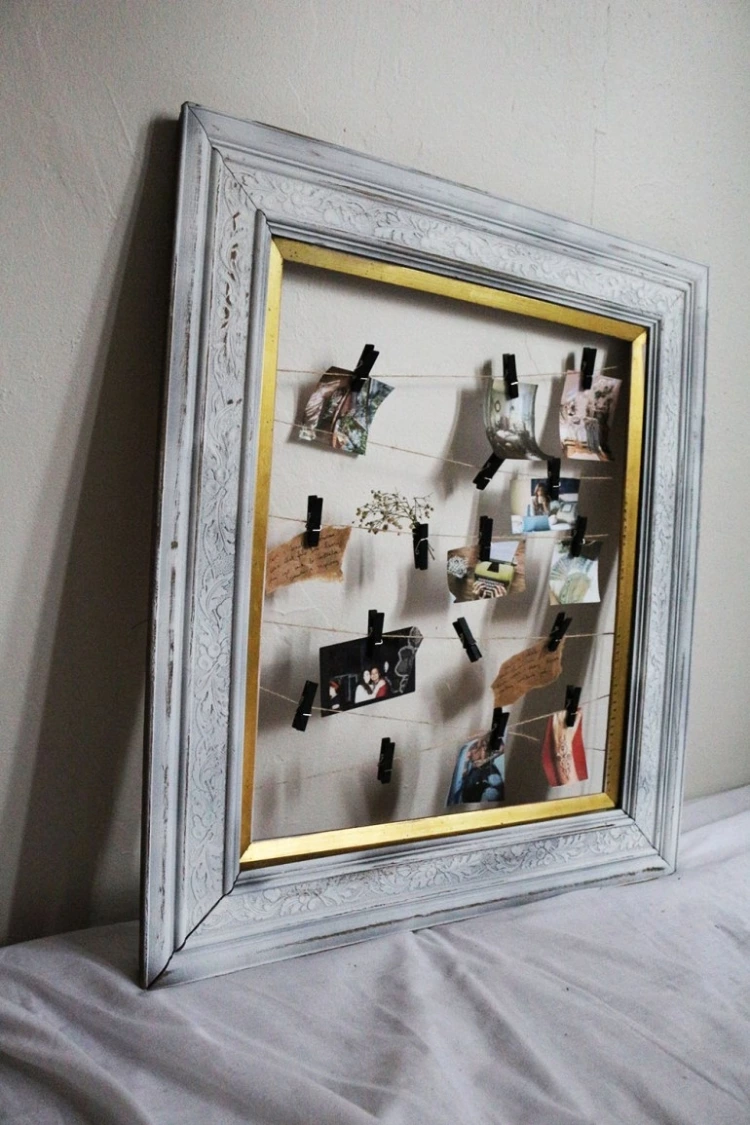
But today’s post isn’t about that photoframe flip. No, it’s about this one.
So this bad boy right here . . . oh, what is he not? He’s a trellis for my growing plants (although my Swiss cheese plant may have grown a tad too big for him); he’s a memo board for my manifestations; and he’s just a damn cute piece of furniture that makes my desk look like a proud papa.
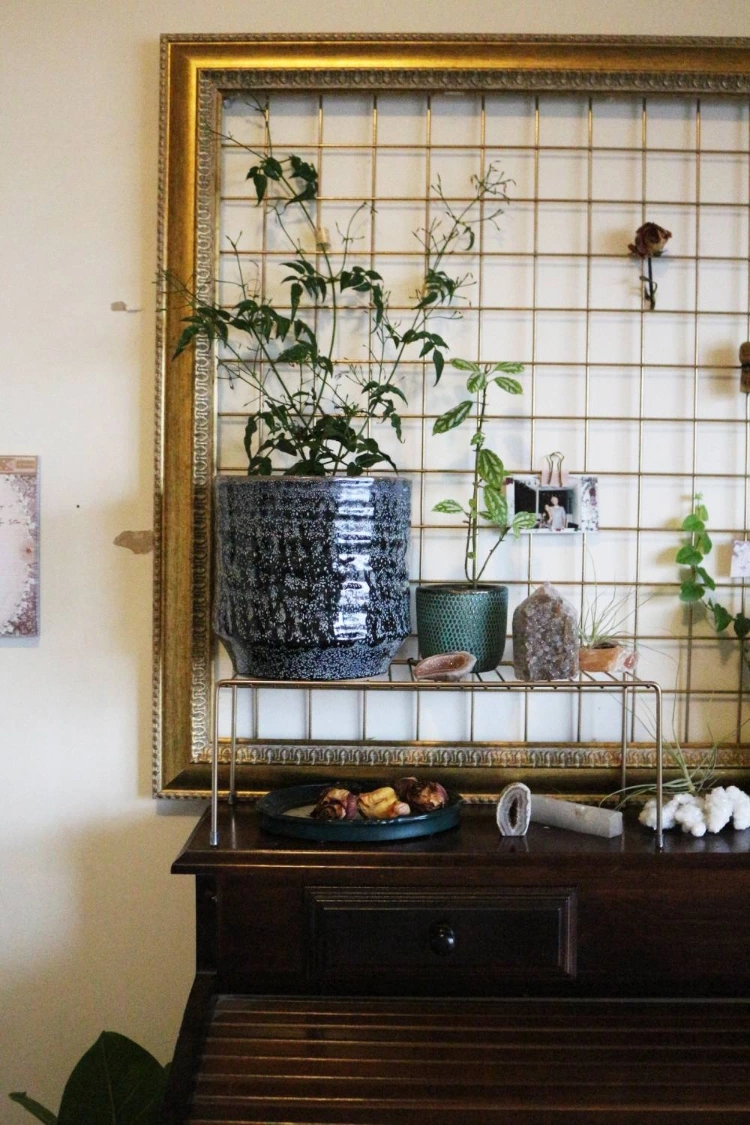
You know what else he is? Super easy to recreate and fabulously cheap.
When coming up with an idea for this post, I wanted to make something that anyone could genuinely recreate themselves. I’m not sure if any of you watch thrift flips, but I tend not to for the sole reason that they often use items that are super unique . . . which is cool, but unhelpful if you’re looking for craft pieces to recreate.
Old photo frames, though? Any thrift store has those in spades – so you can make this along at home!
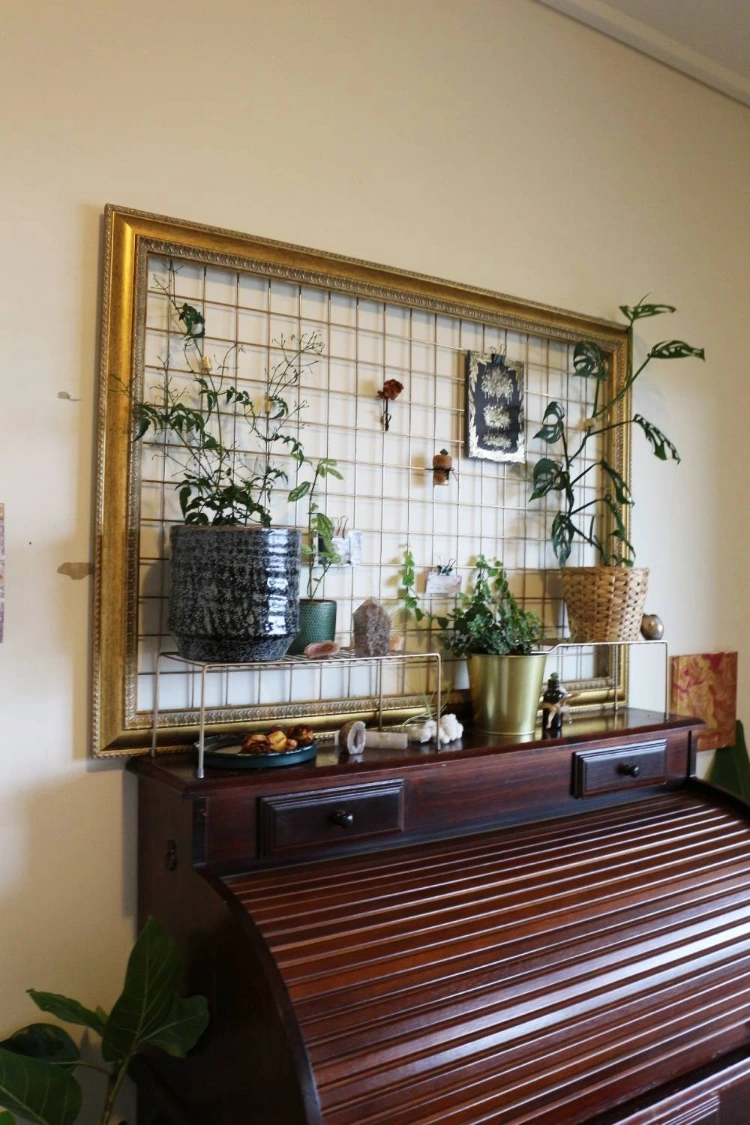
WHAT YOU NEED:
- A large photoframe
- A grid trellis
- Gold spray paint
- Hot glue gun
- Drill
- Mini shelf
- Climbing plants
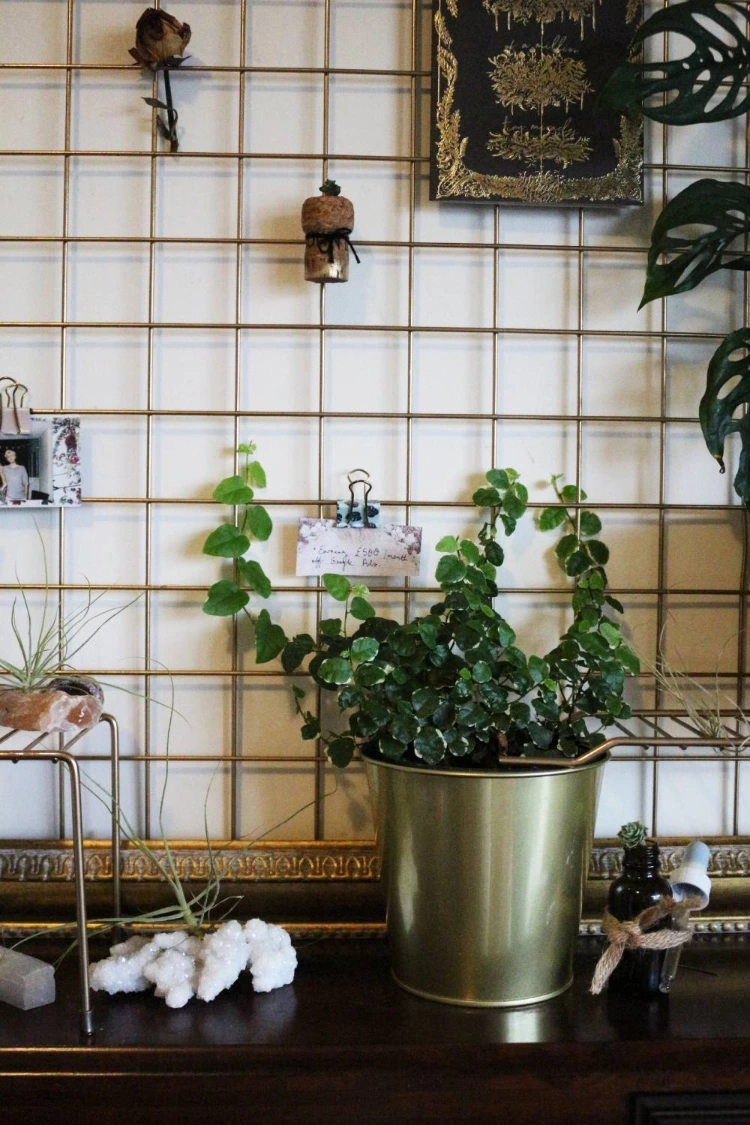
STEP-BY-STEP:
P1 – The Trellis
1. Take note of the measurements of your trellis and head over to the thrift store. Find a large photo frame that fits the measurements.
2. Remove any backing and glass from your photoframe until it is literally just a frame.
3. Spray paint your trellis gold. TIP: Don’t use a grid memo board from Urban Outfitters – actually buy a garden trellis. These look the exact same, but are larger and way cheaper.
4. One dry, adhere the trellis to the back of your photoframe. This is kind of difficult to advise you on because frames from the thrift store are all different. Case in point, mine had staples all around it (??) and I had to use them almost as hooks to tie the trellis to and then I secured it all with hot glue.
5. Attach to the wall. (If you aren’t renting, I’d recommend using nails for this.)
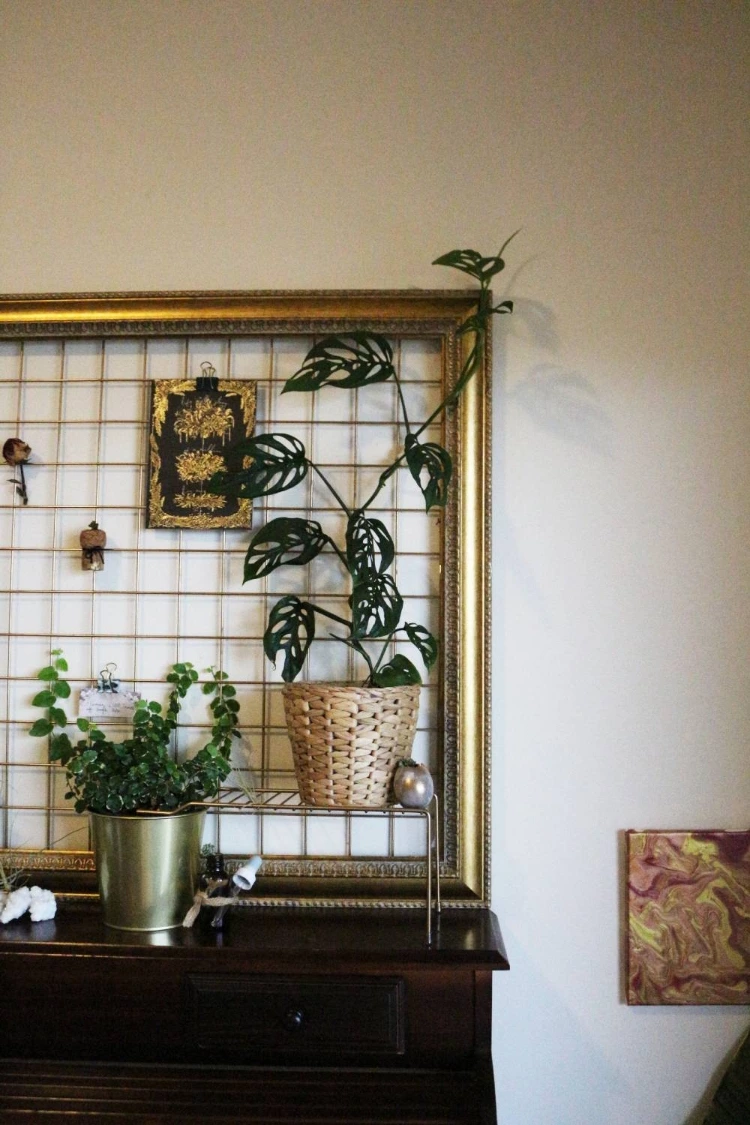
P2: Plants
For each climbing plant you’re going to attach, we’re going to need to do some prep. This is for drainage. If a plant’s roots are left sitting in water at the bottom of their pot, they’ll often rot which can destroy the plant. The solution to this? The holes you see in the bottom of your pots. These are called drainage holes and they allow water to drain out of the soil.
Now, there are two ways you can go about this. Number 1 is to manually disconnect your plants from the trellis each time you want to water them and reattach them after. But considering most plants require watering once a week . . . I didn’t fancy that.
If you’re like me and you want to be able to leave your plants where they are when you water them, the next steps are how we’re going to achieve it.
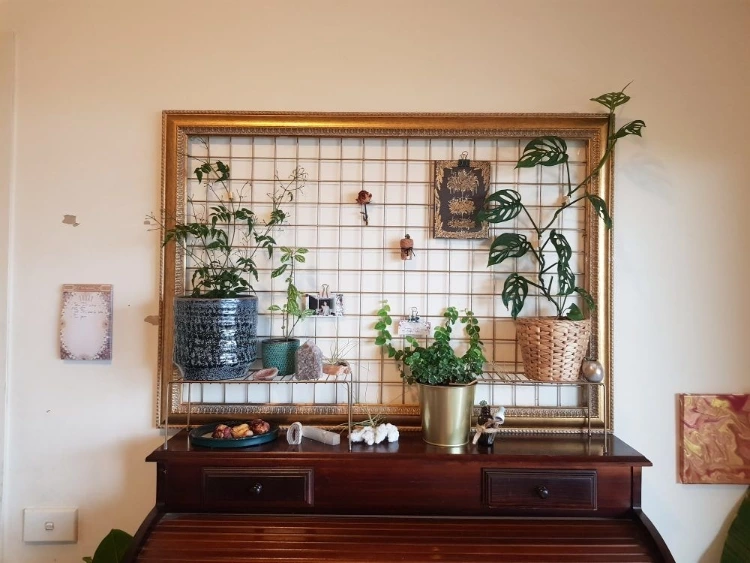
1. Spray paint your mini shelf gold. (It’s important that this is a wire shelf that’s got free space underneath like this one.)
2. Drill 4 holes in the base of each plant pot. (If you have a ceramic pot like my gorgeous blue one, use a masonry drillbit.)
3. Once dry, place the plant pots on the mini shelf and attach your plants to the trellis.
4. When you need to water them, slip a bowl under the shelf and any excess water will drip into there.
Another option, but one I like to do less, is to add rocks to the bottom of your pots. This gives water a small amount of space to drain without needing the pot to be elevated – but you need to be mindful of how much water your plant requires.
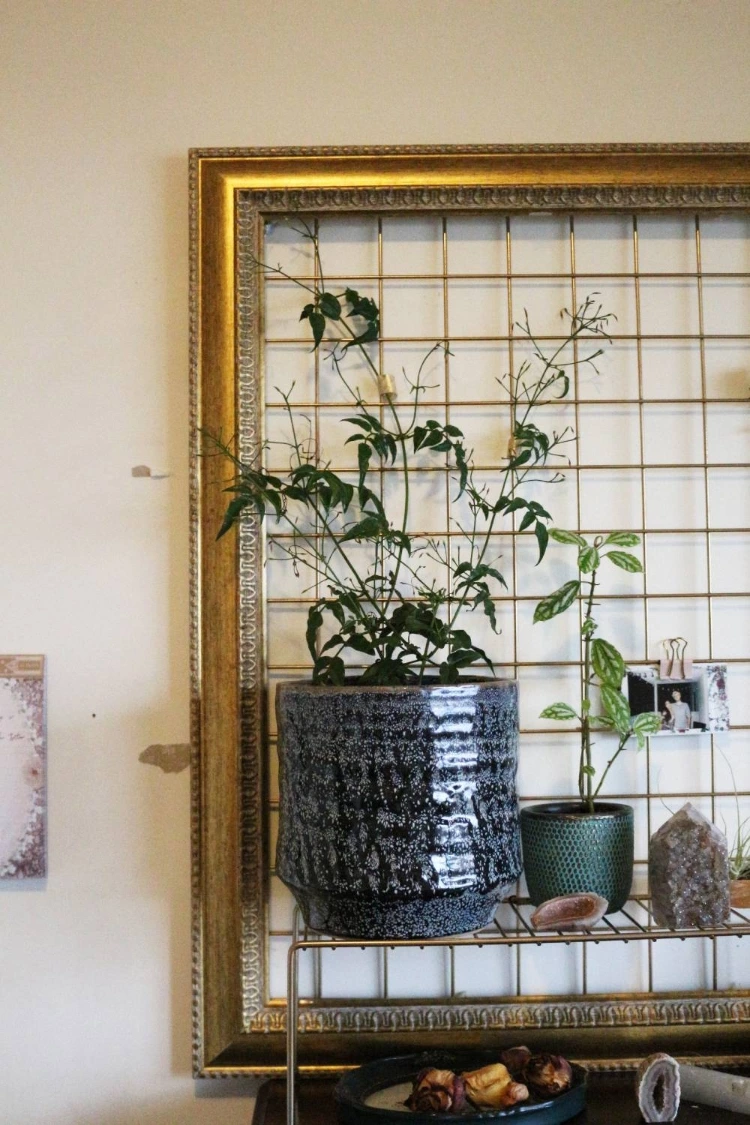
And that’s it! This is (admittedly) more of a big project than my normal DIYs, but the end result is massively worth the extra steps.
I confess, due to tricky lighting in my room and my lacklustre photography skills, the photography didn’t do this beauty justice! But you can see it in a bit more detail in my Youtube video and I will *try* to get better pics of it another time for you all.
Alright, lovers, I’m going to round this post off here! Like I mentioned at the beginning, this was a collab with the lovely Aimsy. While I tackled some furniture at the thrift store, Aimsy has come up with some exciting ways to rework clothing you can find there . . . so go check her post out! Would you ever attempt this craft yourselves? What did you think of the finished product? Let me know your thoughts down below!
Peace,

Instagram // Twitter // Bloglovin’ // Youtube // Pinterest
 |
 |
 |
 |

About Mia M.
I'm going through a bit of an existential crisis right now, I'll tell you about myself when I figure out if I'm real or not.
Leave a Reply
hey, i’m mia

tattoo lover, plant hoarder, DIY addict and overall stoner grandma
Check out the FREE Gifts. Or latest free DIY eBooks from our best compilation.
Turn off Ad Block to reveal all the secrets. Once done, hit any button:
 |
 |
 |
 |