DIY Crystal Hair Clips – Crystal DIY Challenge #1
by Mia M.
Why, hello my friends – how we all doing? Remember how in May I set myself the goal of relaxing and I gave myself a nice old break? Well, it’s not May anymore and I am fully back to my overly ambitious self.
Today, I present to you part one of a . . . well, I don’t know how many parts DIY challenge. Basically, your girl bought this:
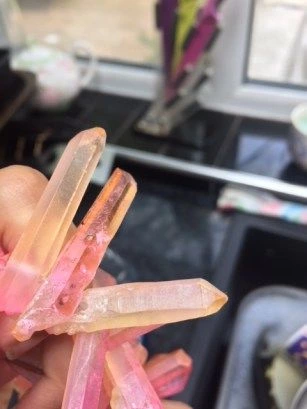
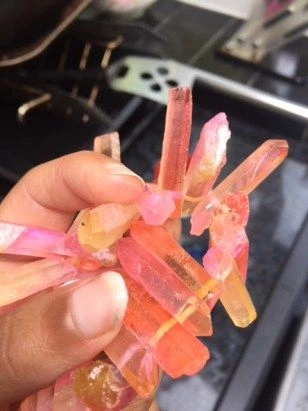
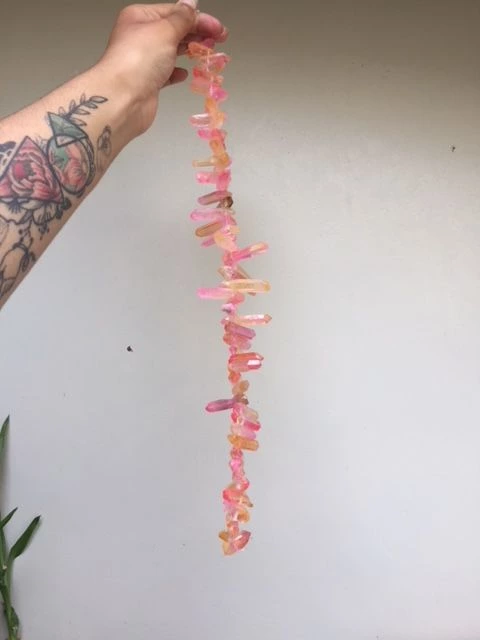
In case you’re somehow confused, this is exactly what it looks like – a really long string of really pretty crystals. Why did I buy this? Well, I mean . . . yeah, that’s a good question. They were pretty and I liked the colour, plus they only cost £11. It was somewhat of an impulse buy, then they arrived and I promptly realised:
“No, seriously, Mia – what the fuck are you going to do with this?
Sneak peek at my latest blog DIY 🌺 coming June 9th @FemaleBloggerRT pic.twitter.com/wU0rT0mOE7
— misanthropic.💀 (@crystalsndcurls) June 3, 2018
And so, my inspiration was born. I’m going to use these crystals in DIYs until they run out and I’m going to share those DIYs with you. Are we all okay with that? Fantastic.
What We’re Making: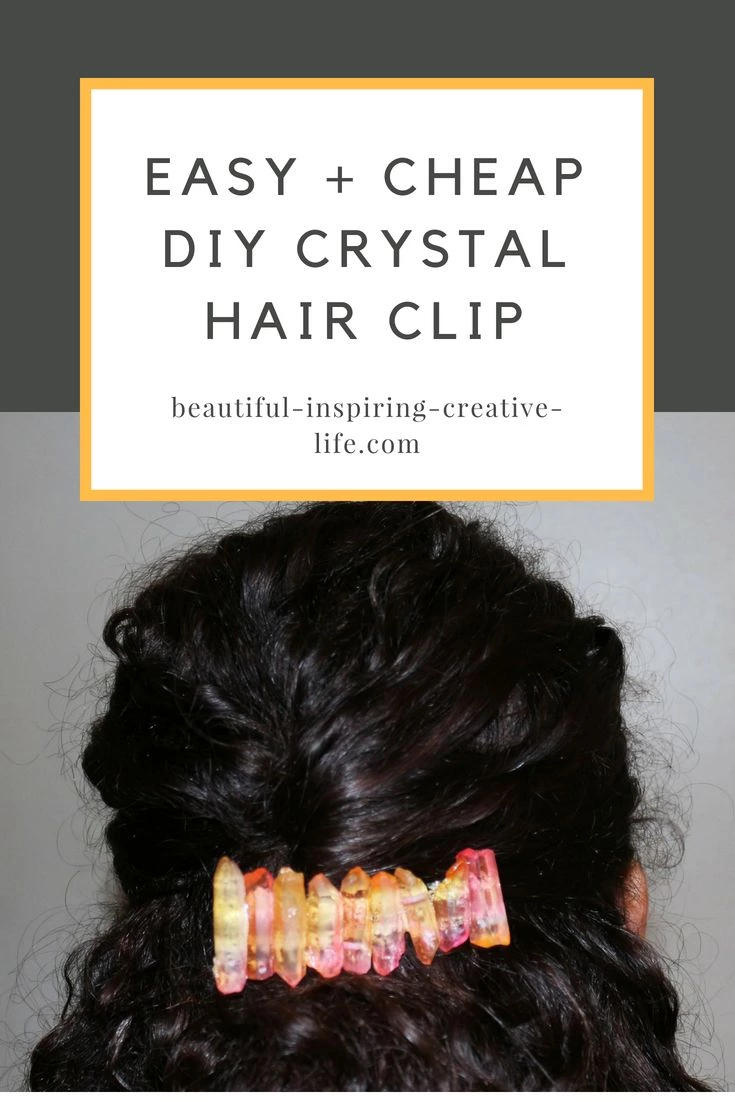
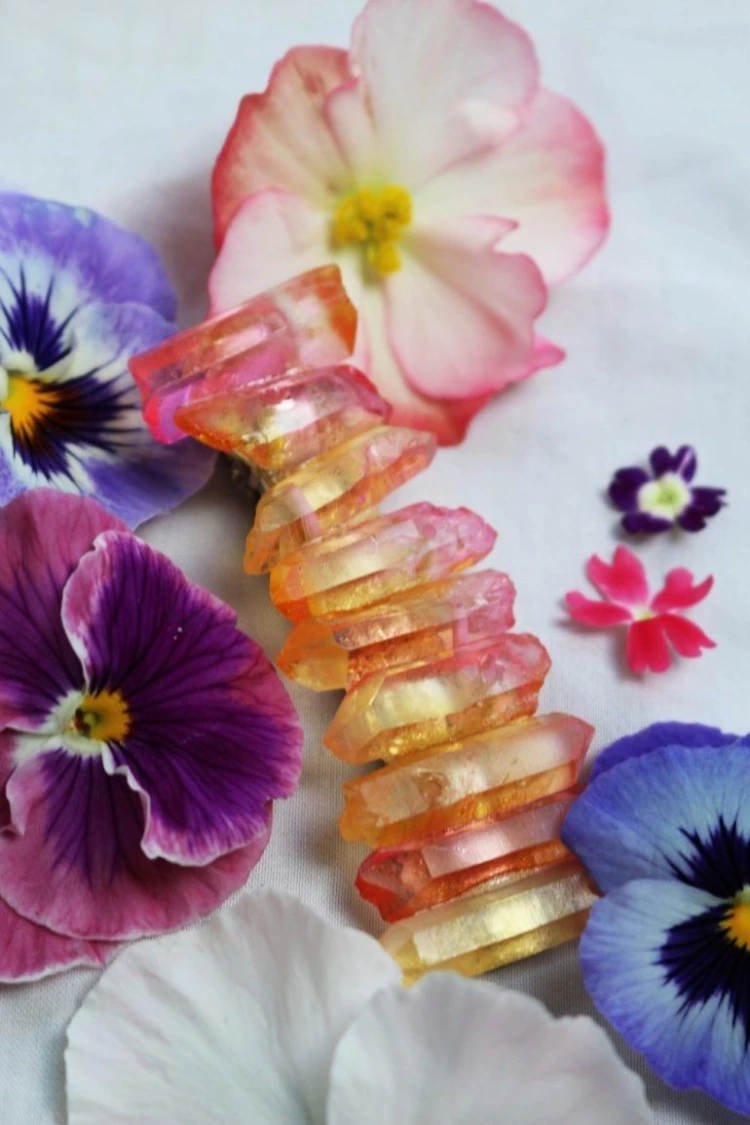
Today, I am creating a super simple (and, more importantly, super pretty) hair clip that is a perfect summer accessory.
One of my go-to hairstyles is half-up half down – especially in summer, as it keeps your hair out your face, but still out and flowin’. However, this style can sometimes be a little boring. A little plain. So this clip is a perfect way to jazz it up.
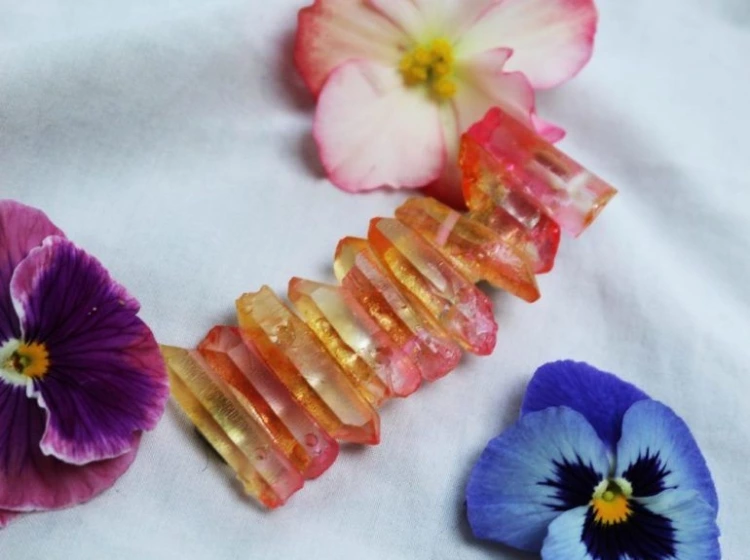
Plus, the colours are beautiful – and it’s so boho-chic, I could imagine Free People selling something like it for £45. (Also, just saying, festival season is coming up and have you seen a more worthy accessory?
What You Will Need:
Because I’m an easy access kind of girl (and by that I mean I want things delivered to my doorstep so I don’t have to hunt for them) all these things are available from our trusted Amazon or Etsy.
Flat Hair Barrettes
Heavy emphasis on flat; you need a nice foundation for the crystals and glue to sit on. Here are the ones I used, I highly recommend them.

Heavy-Duty Glue
Well, you didn’t think the crystals were going to stick themselves down, did you? Here’s the glue I used – and I highly recommend it! (Also . . . it’s super cheap.)

Crystals
Here’s the shop I used; it’s international (based in China, but worldwide shipping is £3) and I was so impressed with the crystals, they’re beautiful.
The crystals used in this DIY are:
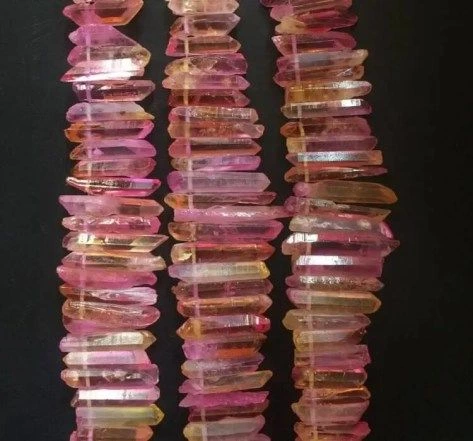
Pink and Orange Crystal Necklace Strand (Approx 44) – ETSY – £11.37
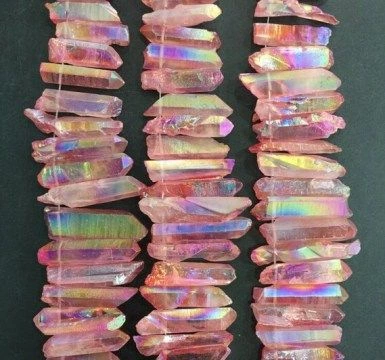
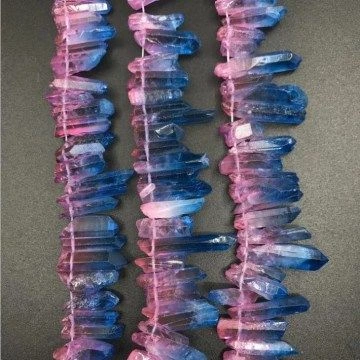
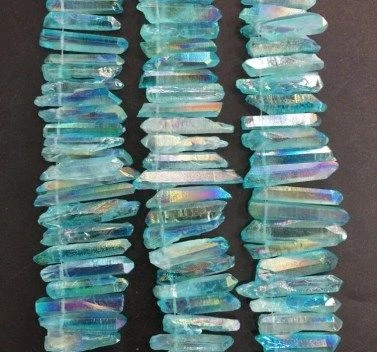
The good thing is, though, while I picked this colour . . . you don’t have to! Look at all these pretty colour options. These all cost the same, so I’m just attaching links to the photo. Click on the colours you want!
What You Need To Do:
Share this post via Pinterest! You’ll be helping me out a lot.
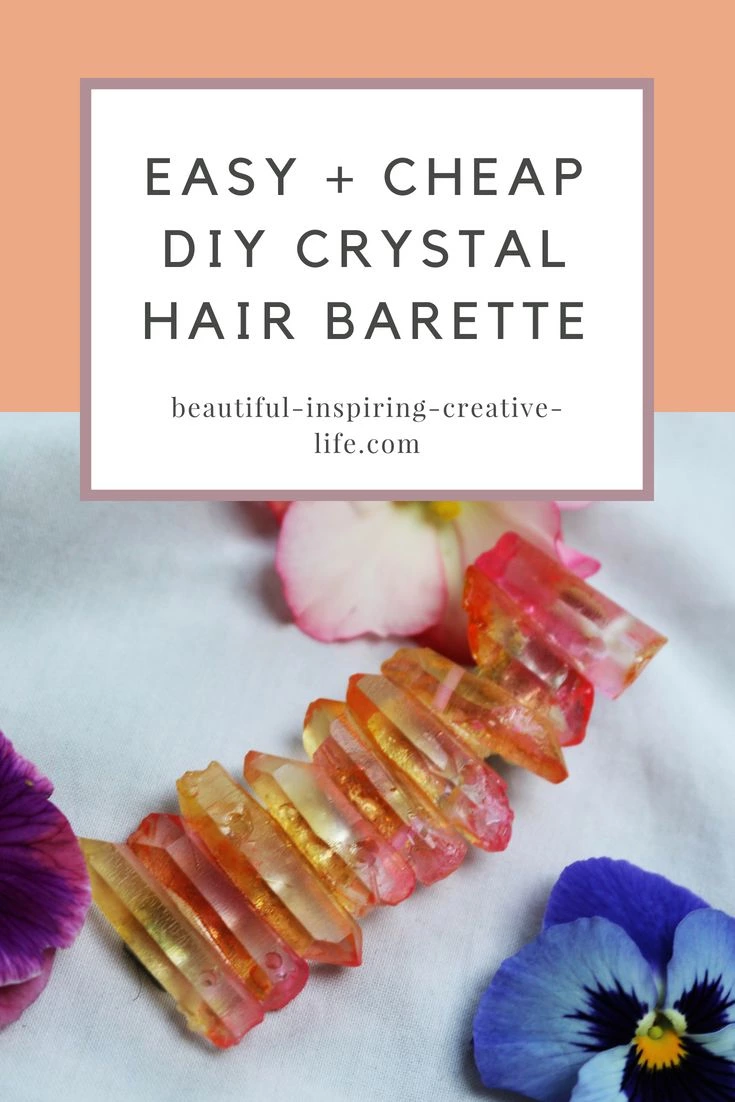
Honestly, this DIY is actually really simple. All you have to do is slap some glue along the hair clip, then place your crystals on it and leave it to dry. That’s it! Simple as pie, right? Now, if you liked this but don’t want to make it . . . I am pleased to announce that you can now purchase it from my Etsy!
I have a whole post planned about this, but I’m actually moving to Australia in September, so any funds are going towards that!
I feel like this post is too short, but anything else would be complete waffle, so here’s as good as any a place to end! If you like DIYs (and, I mean, who doesn’t?) make sure you follow my DIY board on Pinterest – and check out my DIY blog category!
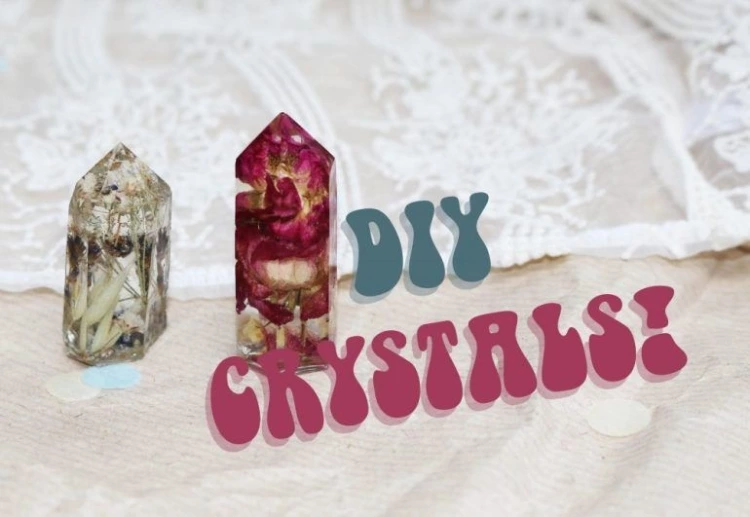
Plus, you don’t want to miss out my DIY crystals tutorial – that’s a good one!
I hope you guys enjoyed this post! Did you like the finished product? Would you wear this hair clip? And can we please talk about how bloody gorgeous these crystals are? Let me know your thoughts down below!
Peace,
Instagram // Twitter // Bloglovin’ // Youtube
 |
 |
 |
 |

About Mia M.
I'm going through a bit of an existential crisis right now, I'll tell you about myself when I figure out if I'm real or not.
Leave a Reply
hey, i’m mia

tattoo lover, plant hoarder, DIY addict and overall stoner grandma
Check out the FREE Gifts. Or latest free DIY eBooks from our best compilation.
Turn off Ad Block to reveal all the secrets. Once done, hit any button:
 |
 |
 |
 |