DIY: Easy, Beautiful Crystal Planters
by Mia M.
Why, hello there gorgeous humans! Today, I’m back with yet another DIY for you all. One day soon my name is going to be synonymous with crafting. You’ll see a notification pop up in your email inbox and instantly start smelling glue.
(Although that demon has nothing to do with me. Put the paint down too, sis.)
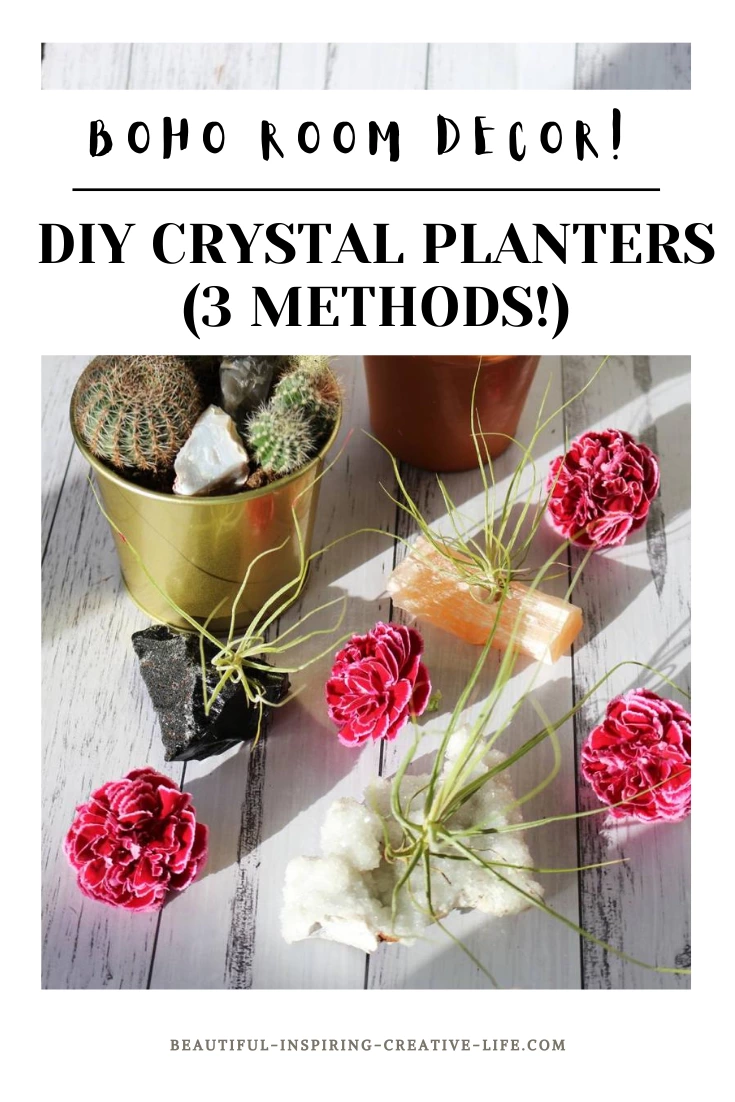
(Pin this for me, lovelies!)
Over the past few weeks, a demon has possessed my body and been shopping like we don’t have a budget. I *think* the excuse is that I eventually want this to be a business and would therefore be able to claim said purchases back as tax refunds? Am I fooling anyone there? No? Yeah, couldn’t even lie to myself on that one.
Moving on. In the spirit of finding the right drawers for my IKEA Moppe Drawer flip (cute, you can see it in action in my room tour post), your girl has been purchasing crystals. A lot of crystals. So many, in fact, that I thought it may be high time to actually do something with them . . . enter these beautiful planters.
I wanted to try out a couple of different planter designs – mainly because I have quite a random selection of crystals happening at the moment. The positive side of that, though, is that there’s a design here for everyone.
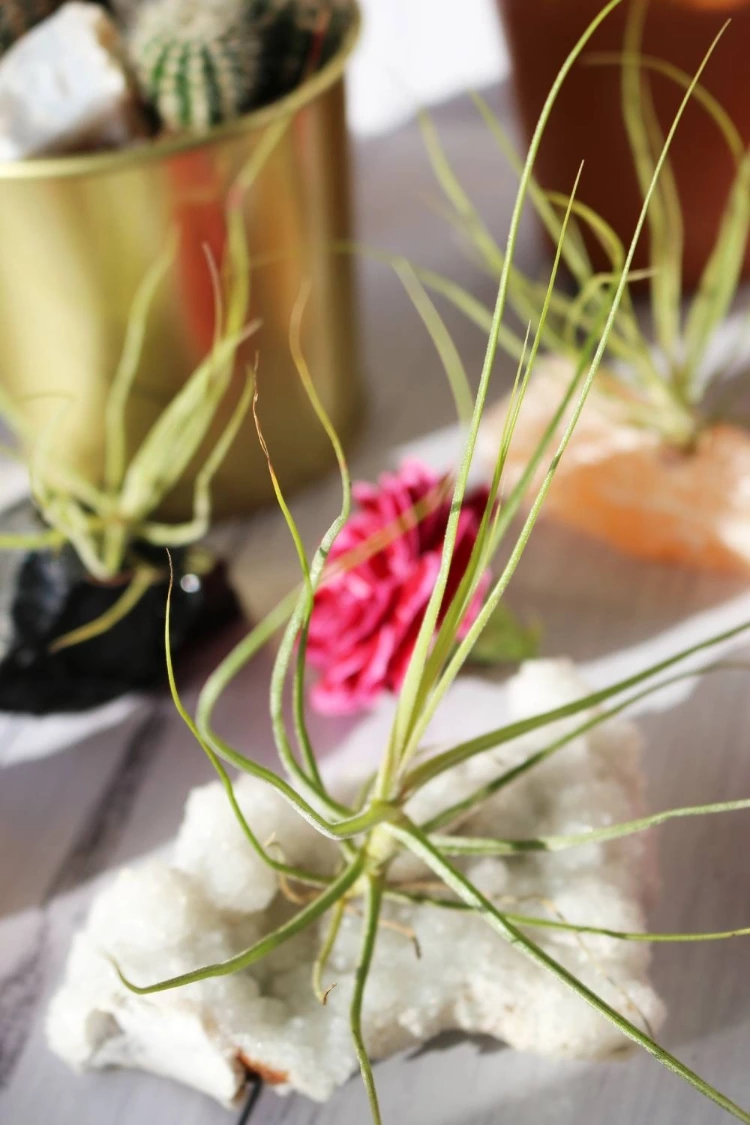
Deathly scared of drills and not willing to risk it for the biscuit? That’s fine – try my hot glue gun version! You’re just about over all the air plant crafts you’ve seen on my blog recently? Try my succulent planters!
(Also, before we jump right into the crafting, would anyone be interested in a crystal haul? Too late, it’s happening. Get ready to fall in love, bitches.)
HOW TO MAKE PLANTERS OUT OF CRYSTALS:
First of all, you should definitely check out the tutorial video for these bad boys! It’s only three minutes, it explains things really clearly . . . and it’s got a banger of a tune in the background!
If you prefer tutorials in writing, though, keep on scrolling!
METHOD 1 – (The Easiest)
These first planters are insanely easy – and you only need three supplies, so they’re nice and cheap too.
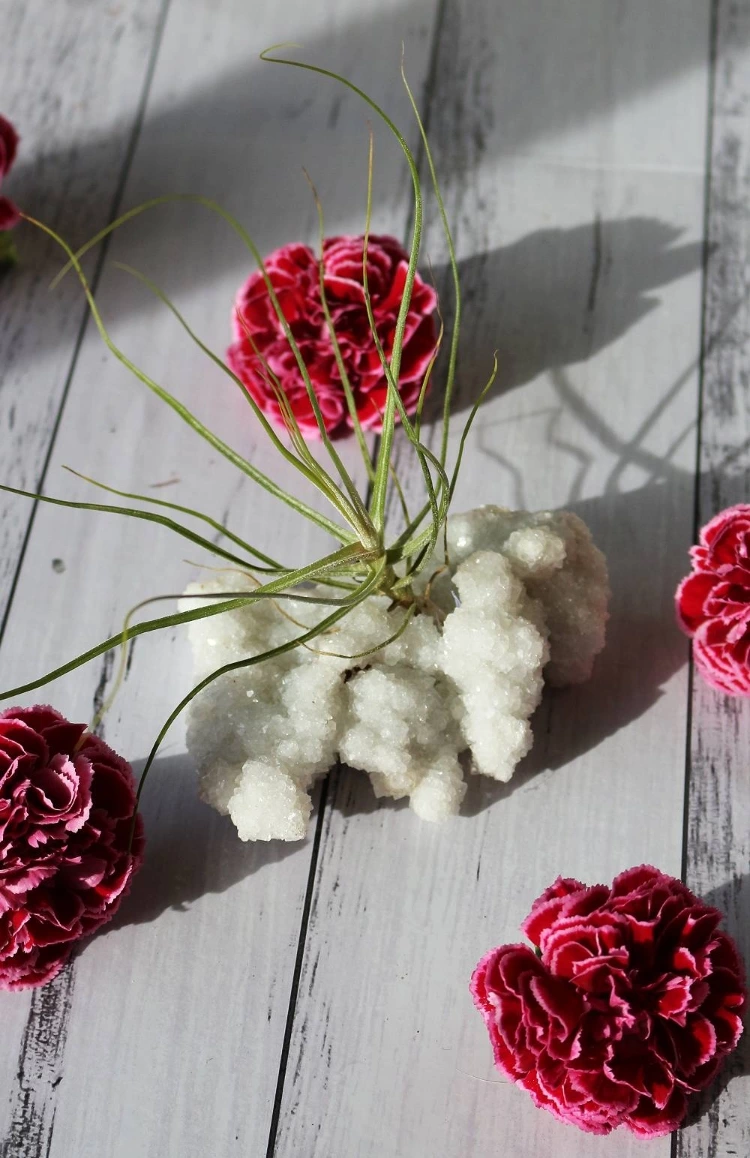
YOU WILL NEED:
- Crystals (preferable rough cuts or druzy stones – ones with crevices, basically.) (SIMILAR) WHITE AGATE DRUZY – ETSY – $30
- Air plants Amazon (10 for $15.95)
- A hot glue gun
STEP ONE: Test different positions that your air plant could sit on your crystal – make sure the root is where they’re connected.
STEP TWO: Once you’re happy with the position, use your hot glue gun to dab some glue to the bottom.
STEP THREE: Place your air plant’s root on the glue to affix it. Add a tiny bit on top to keep it secure.
The reason I used air plants for these is that they don’t take in sustenance from their roots. So you don’t need any unsightly soil in your crystals – and they only require a quick spray with water once a week.
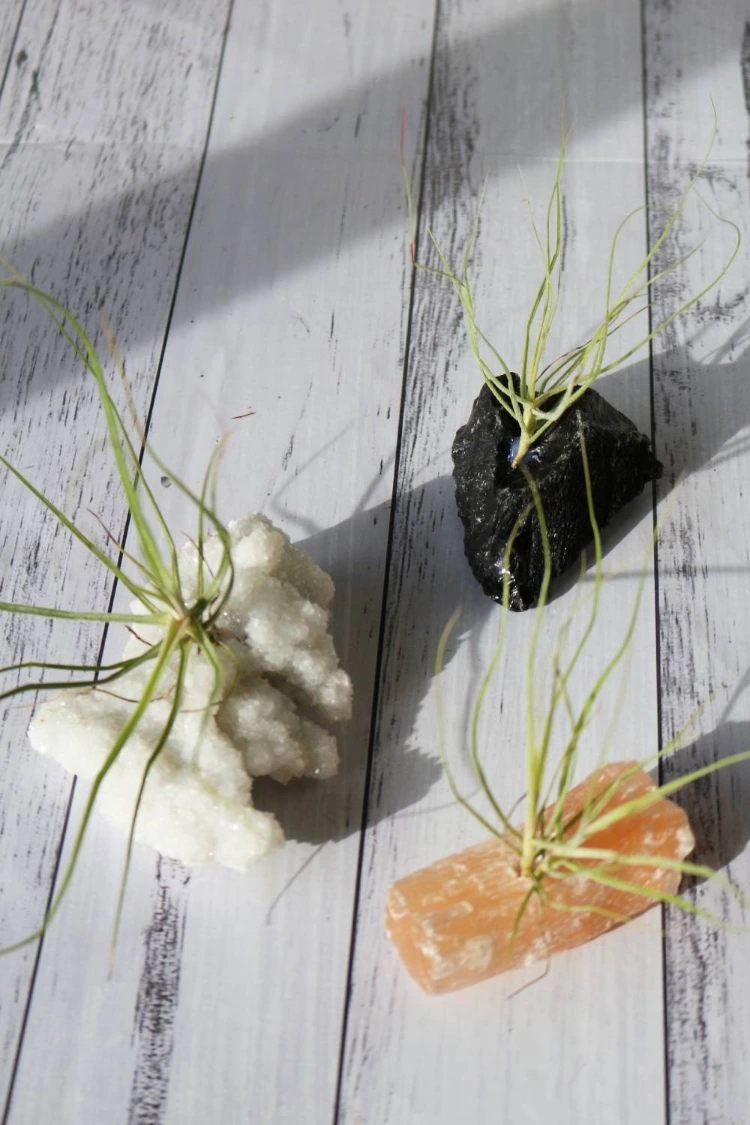
METHOD 2 – (A little harder, but great if you have smooth or flat stones)
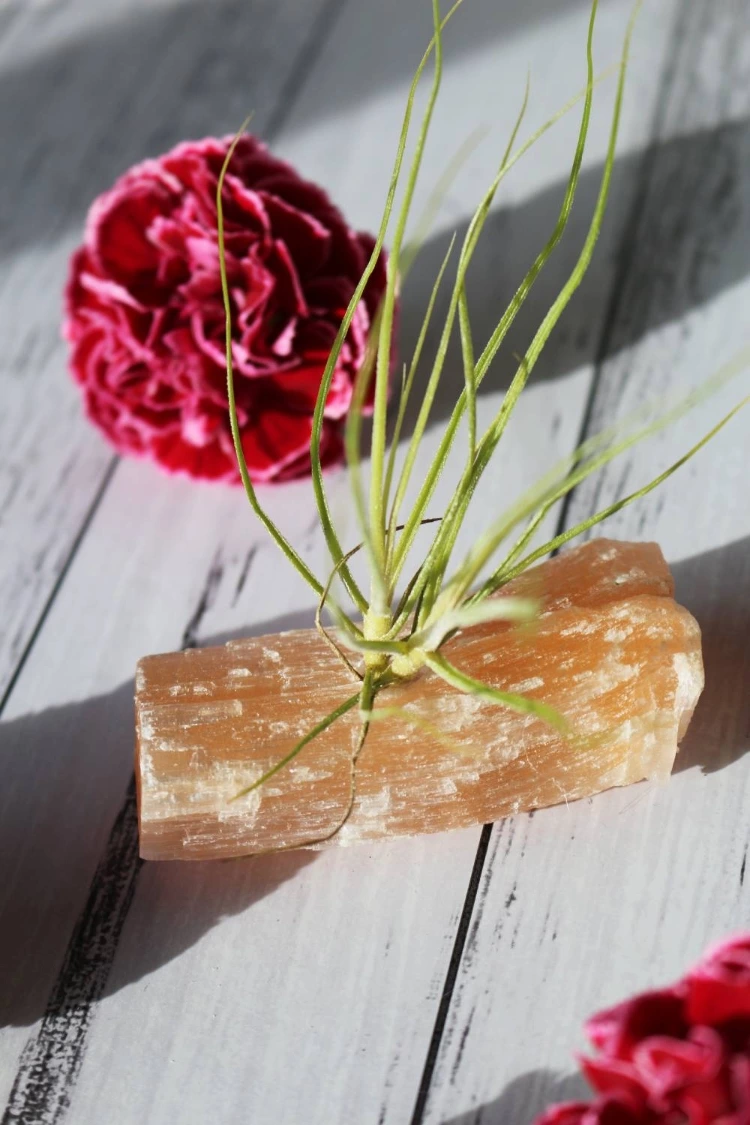
This planter requires use of a drill – but gives you a really nice, neat finish with stones where you can’t hide the plant’s root in any crevices.
YOU WILL NEED:
- A drill with a crystal drillbit
- A crystal (I used selenite for mine) Selenite Rod Etsy – $3
- An air plant Amazon (10 for $15.95)
- Hot glue gun
STEP ONE: Drill a small hole in the middle of your crystal. Make sure you wear protective eyewear for this.
STEP TWO: Once your hole is deep enough, dust it off and dab a bit of hot glue in it.
STEP THREE: Place the root of your air plant in the hole and dab a little more hot glue on top to secure it.
And thats it! This method keeps the root hidden, so it’s a great way to create a nice, neat planter.
METHOD 3 – USING ROUGH CUTS IN PLANTERS
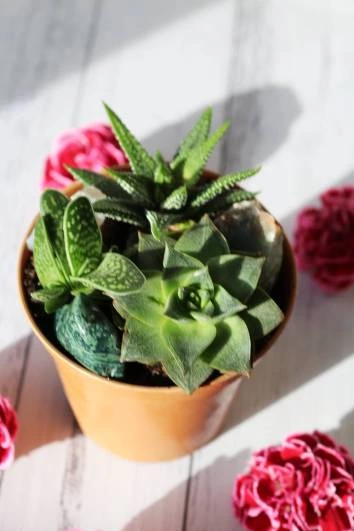
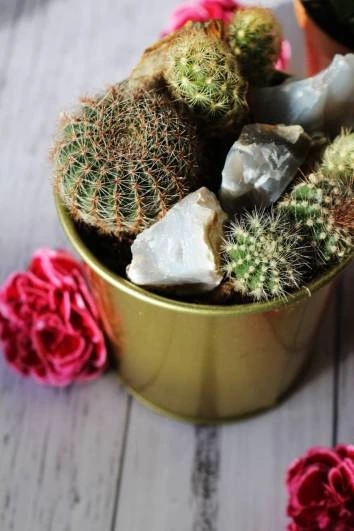
Our last method is a fabulously easy way to use up any rough crystals or stones you’re not insanely fond of. And best of all? It requires nothing fancy other than some cute plants!
If you guys remember my office room tour, you may remember I have a retro-look glass drinks trolley. The bottom tier of that is reserved for baby plants waiting to be put in cool terrariums . . . so I picked up a couple and decided to make something real cute!
YOU WILL NEED:
- 3 succulents or cacti
- Potting soil
- A large pot to move the plants into
- Rough cuts and stones
STEP ONE: If your new pot is significantly deeper than the current pot your plants are in, add a layer of soil to the bottom.
STEP TWO: Remove your succulents from their original pots and place them in the new one – leave big enough gaps between plants to place stones.
STEP THREE: Add in the necessary soil to fill in any gaps in your new pot. (Optional: add a little water to help everything settle.)
STEP FOUR: Add stones into the gaps between your plants.
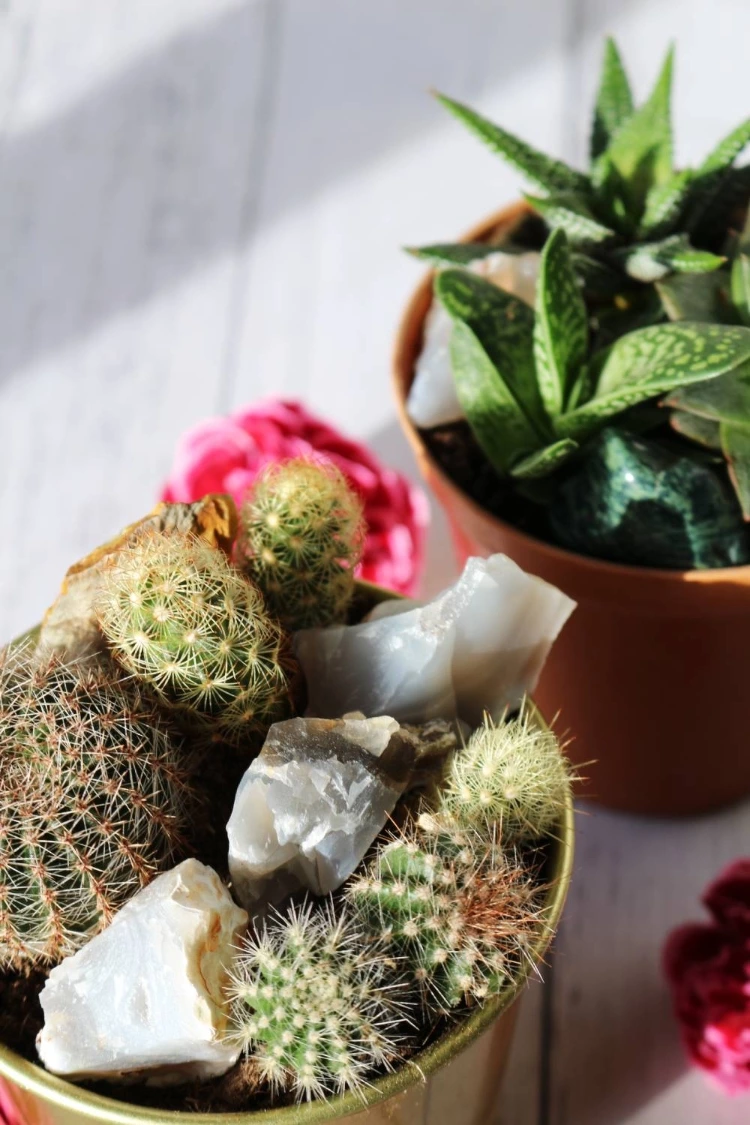
I love how this one turned out – I actually made one with succulents and one with cacti. We’re going to need some more plant pot DIYs, though, because these need some sprucing up!
Anyways, lovers, that’s about it from me today! I hope you enjoyed this ‘lil post – would you guys recreate these crystal planters in your home? Which was your favourite? And did you subscribe to me over on Youtube? Let me know your thoughts down below!
Peace,

Instagram // Twitter // Bloglovin’ // Youtube // Pinterest
 |
 |
 |
 |

About Mia M.
I'm going through a bit of an existential crisis right now, I'll tell you about myself when I figure out if I'm real or not.
Leave a Reply
hey, i’m mia

tattoo lover, plant hoarder, DIY addict and overall stoner grandma
Check out the FREE Gifts. Or latest free DIY eBooks from our best compilation.
Turn off Ad Block to reveal all the secrets. Once done, hit any button:
 |
 |
 |
 |