DIY: Urban Outfitters Inspired Floor Cushion! (No Sewing Machine)
by Mia M.
Hello, you gorgeous creatures and welcome to the post that tested both my sanity and my patience. Oh... this DIY. This bad boy right here. Am I happy how it turned out? Obviously - look how cute this is.
Contents
- Urban Outfitters Style DIY Floor Cushion in the Making
- What You Need for Urban Outfitters Inspired Floor Cushion
- Step-by-step: How to Make Urban Outfitters Inspired Floor Cushion
- Cut your fabric into different sections.
- Sew the perimeter of your cushion together.
- Sew the top and bottom of the cushion to the perimeter
- Turn the pillow inside out and stuff! (Make sure to resew that gap you left.)
- Mark off where you want the dips in your cushion.
- To tuft the edges, sew along them as if you're creating a large seam from about an inch in from both sides.
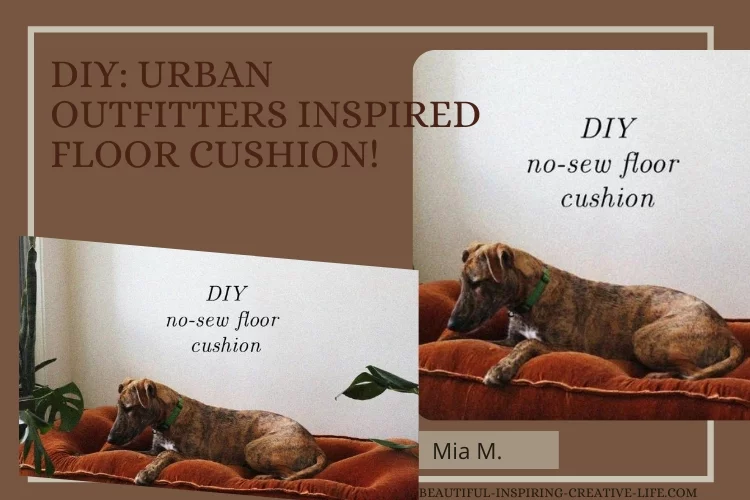
Urban Outfitters Style DIY Floor Cushion in the Making

But was it an easy journey? Absolutely not. This was my first attempt at sewing and, in an effort to not carelessly buy expensive craft tools, I said "no, Mia, we are not buying a sewing machine. If you do some sewing crafts and *actually* need one, then we can talk.".
Which is logical, absolutely.
But not when you're hand sewing an entire f**king cushion.
Regardless, I do love it. It's a fun and (once you get into it) quite relaxing craft. I highly recommend doing this slowly over a few days - it's a great project to do in front of the TV for an hour or two a night.
And it is far, far cheaper than spending $200 on a floor cushion from Urban Outfitters. (Which, as I'm in Australia, would actually be like AUD$350.) If you would like a cushion of your own and don't fancy the craft project, you can pick up the originals below!
I've had this craft on the backburner for a while (as keenly spotted by Arshia back in May) - but it ended up getting completed at the perfect time. With the new addition of our puppy Lupa, this cushion is not just for decoration... it's also a great spot for my babies to sit and keep me company in my mini office!
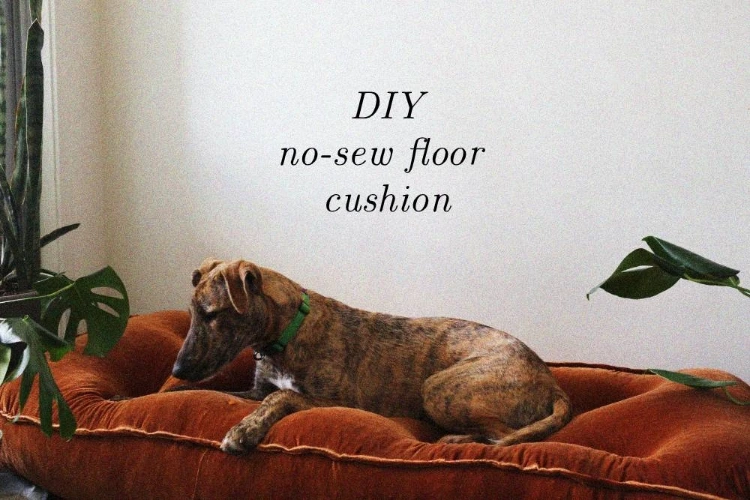
If you're ready to take the plunge and craft this bad boy with me, let's get started...
What You Need for Urban Outfitters Inspired Floor Cushion
- Fabric scissors/very sharp scissors - don't skip out on these. Trying to cut fabric with blunt scissors is a pain in the ass beyond comparison.

- 3m of your fabric of choice. This will leave you with some extra, but I found that was a good enough wiggle room for any mistakes.

- Needles & thread. Because we're hand-sewing. *Shudder*
- Pillow stuffing.

I actually ended up using bean bag stuffing because my local Kmart had it in stock and it was impossible to find pillow stuffing mid-COVID19. I don't recommend this (unless you want a stylish beanbag). I really like the finished product, but it doesn't hold it's shape quite as well as it would if I'd used pillow stuffing - and bean bag balls are insufferable to work with. I'm still finding them in? The? Bathroom?
Step-by-step: How to Make Urban Outfitters Inspired Floor Cushion
I did make an updated - and way more concise - version of this tutorial for smaller cushions. I've inserted it below in case you prefer shorter videos.)
FYI: You need to be working "inside out" so that the seams are on the side of the fabric you don't want displayed.
1. Cut your fabric into different sections.
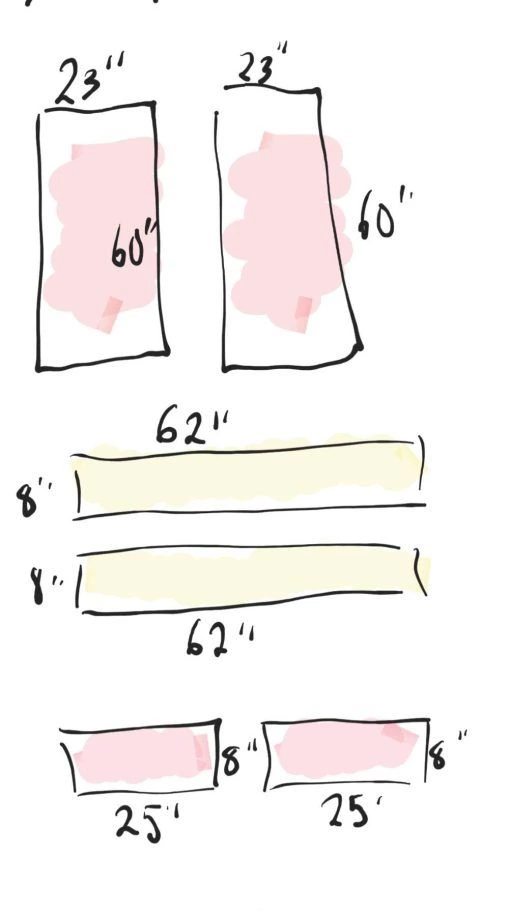
You need:
- 2 x 23″ x 60″
- 2 x 8″ x 62″
- 2 x 25″ x 8 "
(FYI: These measurements are somewhat dodgy. They're the exact ones I used as I gave myself two inches of "error padding" on the length and width panels. You definitely don't need this much wiggle room; I included the originals because those are transparently what I used, but I think 8″ x 60.5″ and 8″ x 23.5″ would work better.
2. Sew the perimeter of your cushion together.
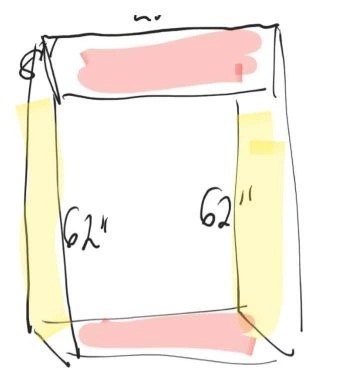
Pour yourself some wine, get a good movie on. This step is not for the faint of heart. I personally did two lines of straight stitching, just to make sure the edges were super secure.
3. Sew the top and bottom of the cushion to the perimeter - make sure not to join it completely and leave a gap for filling with stuffing
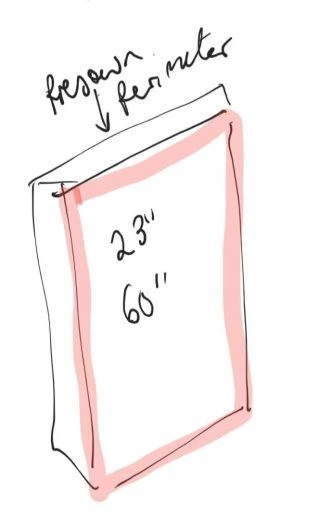
4. Turn the pillow inside out and stuff! (Make sure to resew that gap you left.)
5. Mark off where you want the dips in your cushion.
Tie off the end of some thread and sew through the spot you marked. Re-pierce near the original hole through to the other side and pull to create tension. Repeat this method until you're happy. (This is easier to explain with the video tutorial.)
6. To tuft the edges, sew along them as if you're creating a large seam from about an inch in from both sides.
Pull taught to create tension. (Again - easier to explain in the video.)
Now, I know I've already shared this video with you... but I'm going to share it again. It's just a video format of this tutorial and I think it's a lot clearer than the mess my writing is. I've had 4 hours sleep guys, mama's running on fumes.
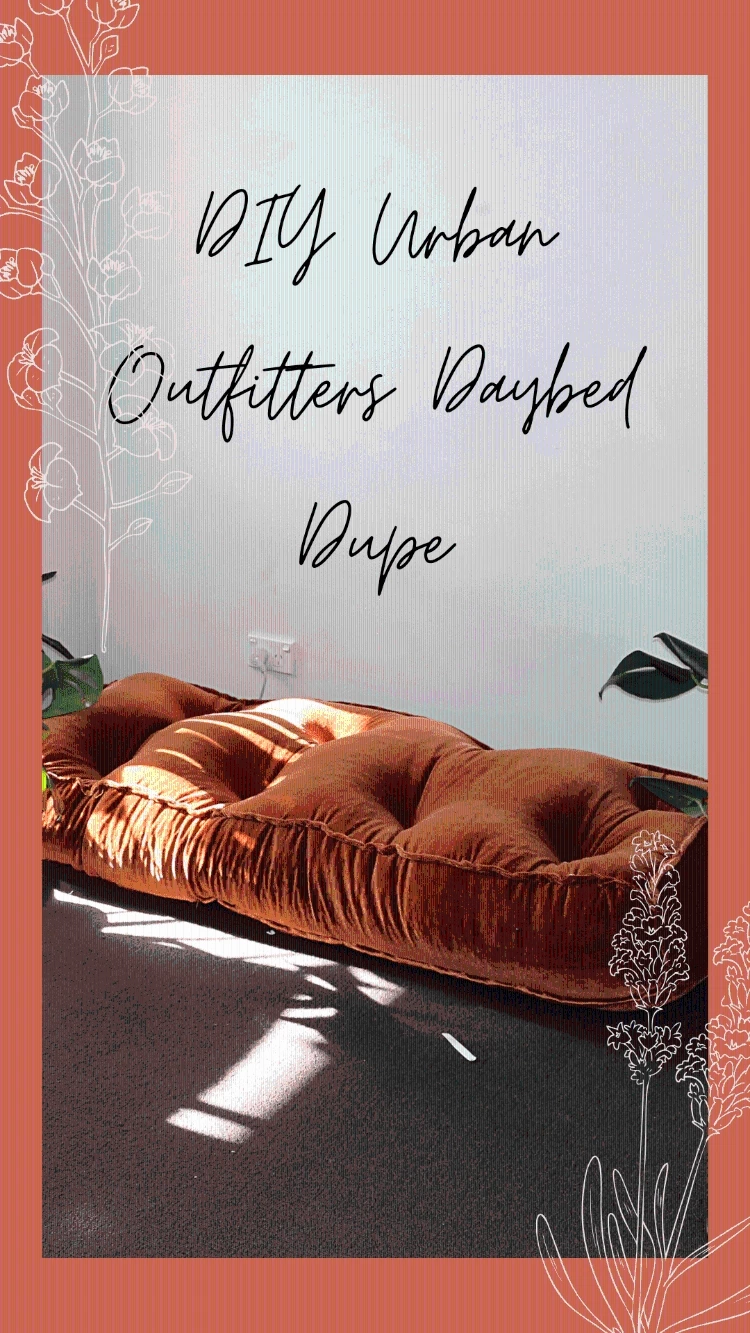
And that's it lovelies! Sorry for not being able to photograph this one any better… The office room is currently a "hide everything from the puppy" room. Very limited photo opportunities. Anyhoo, I hope you enjoyed this craft! If you're into DIYs, make sure you're following me on Pinterest.
What did you guys think of this DIY? Would you give it a try? Let me know your thoughts down below!
Peace,

Instagram // Twitter // Bloglovin'// Youtube // Pinterest
 |
 |
 |
 |

About Mia M.
I'm going through a bit of an existential crisis right now, I'll tell you about myself when I figure out if I'm real or not.
Leave a Reply
hey, i’m mia

tattoo lover, plant hoarder, DIY addict and overall stoner grandma
Check out the FREE Gifts. Or latest free DIY eBooks from our best compilation.
Turn off Ad Block to reveal all the secrets. Once done, hit any button:
 |
 |
 |
 |