How To Make A Resin Table – DIY Marble Countertop
by Mia M.
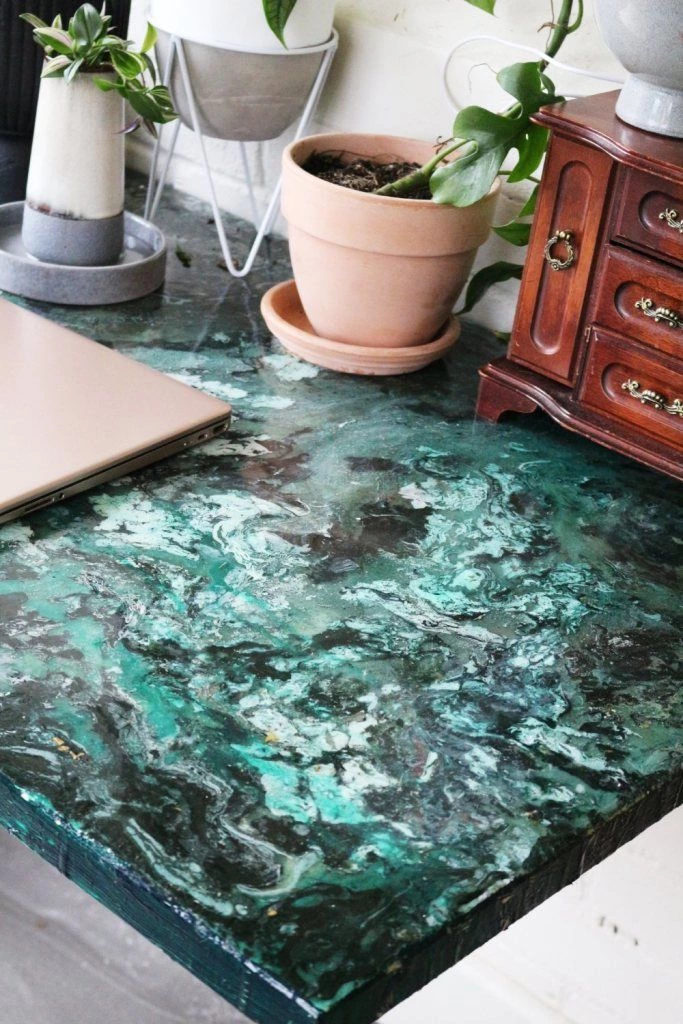
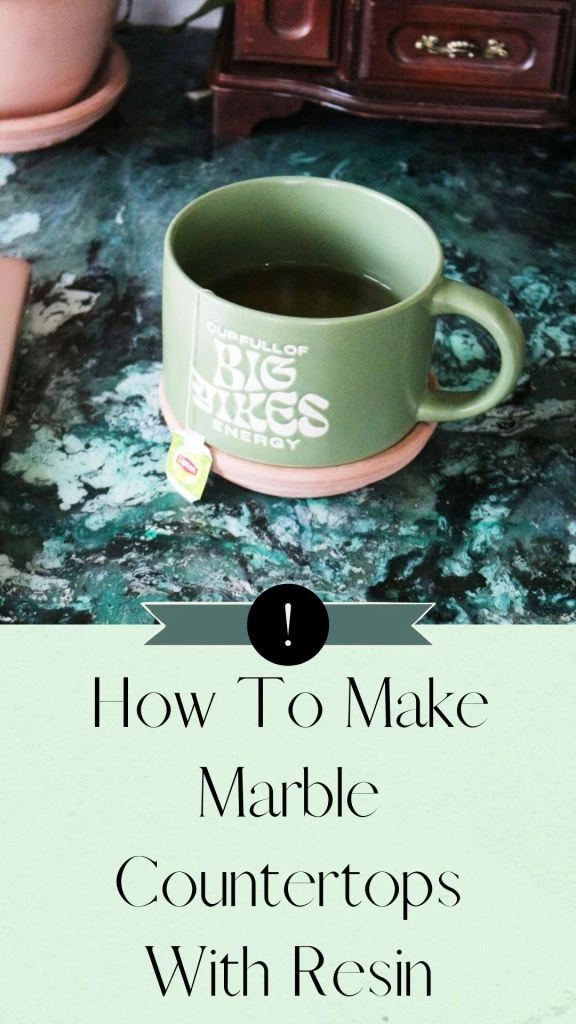
Have you seen marble table tops and fallen in love – only to balk at the price? Me too! But let me share an affordable and easy DIY hack with you all. Follow this tutorial for how to make a resin table – with a stunning DIY marble countertop. Affiliate links in post.
Hello, beautiful people, and welcome back to my corner of the web! I hope you’re all having a good day so far. And, if not, I’ve got you covered. Today’s post combines two of everyone’s favourite topics: crafting and home décor.
As much as I love Pinterest – and it’s a lot – there are definite downsides to it. One such drawback? Being constantly bombarded with beautiful images of well-decorated homes . . . then realising how much everything costs.
My taste may say rich LA middle-class suburbanite, but my bank balance is very much “working class international student”.
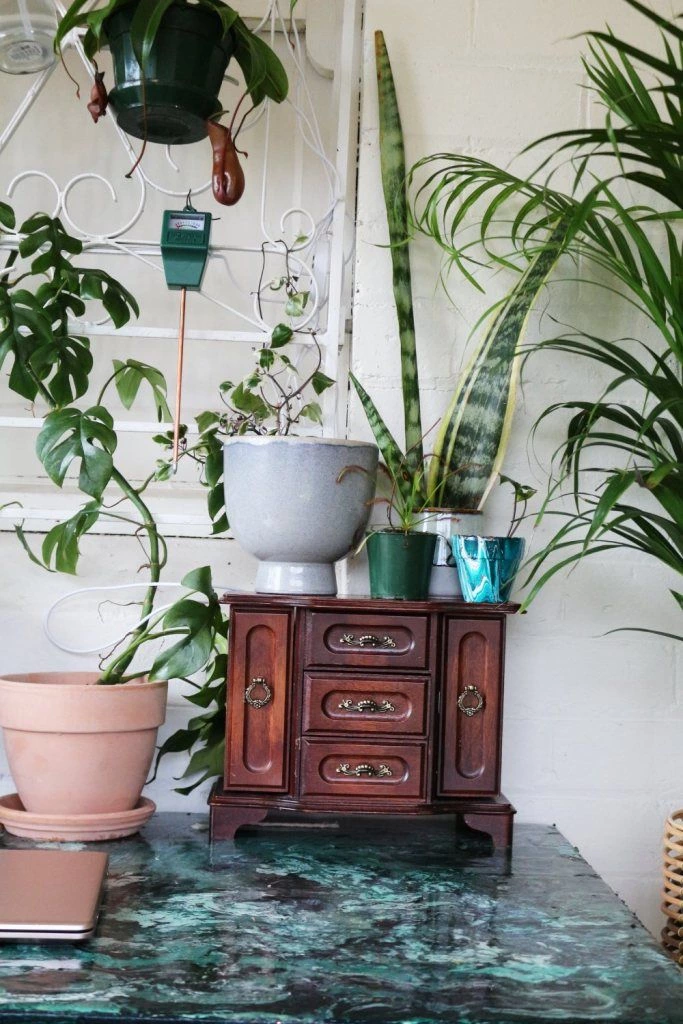
However, I am not your friendly neighbourhood DIY’er for no reason! Economic challenges only force me to pull my socks up and get creative. So join me as I show you how to make a resin table with a DIY marble countertop.
Perfect as a little accent feature – or even a plant stand. I’ve used this technique on plant stands, side tables and even a desk before!
Here are a few other marble projects I’ve created with resin for inspiration:
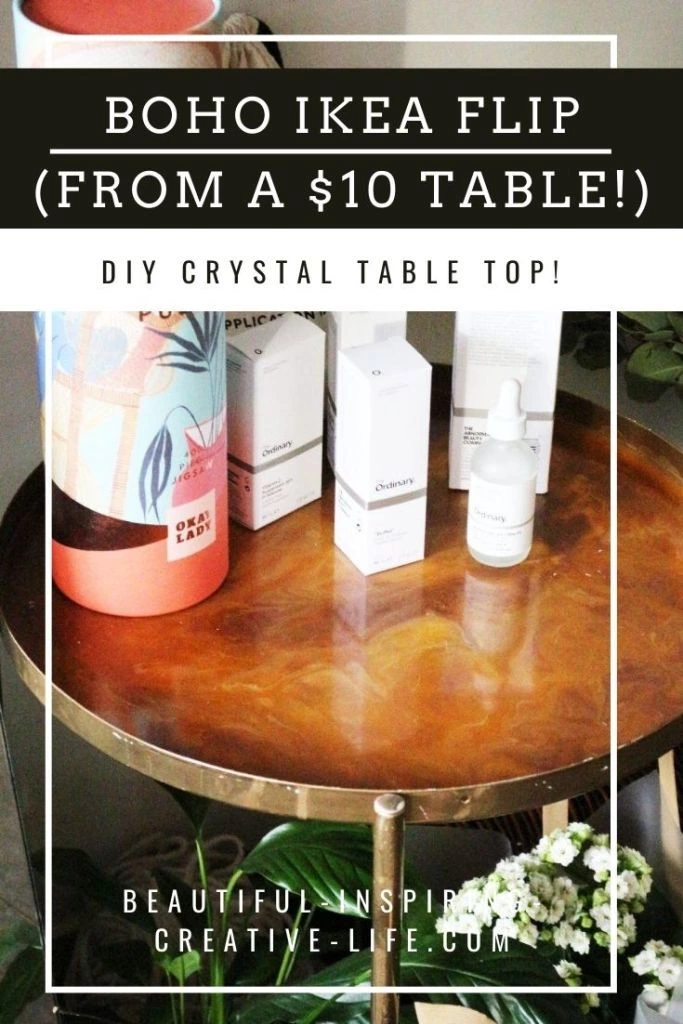
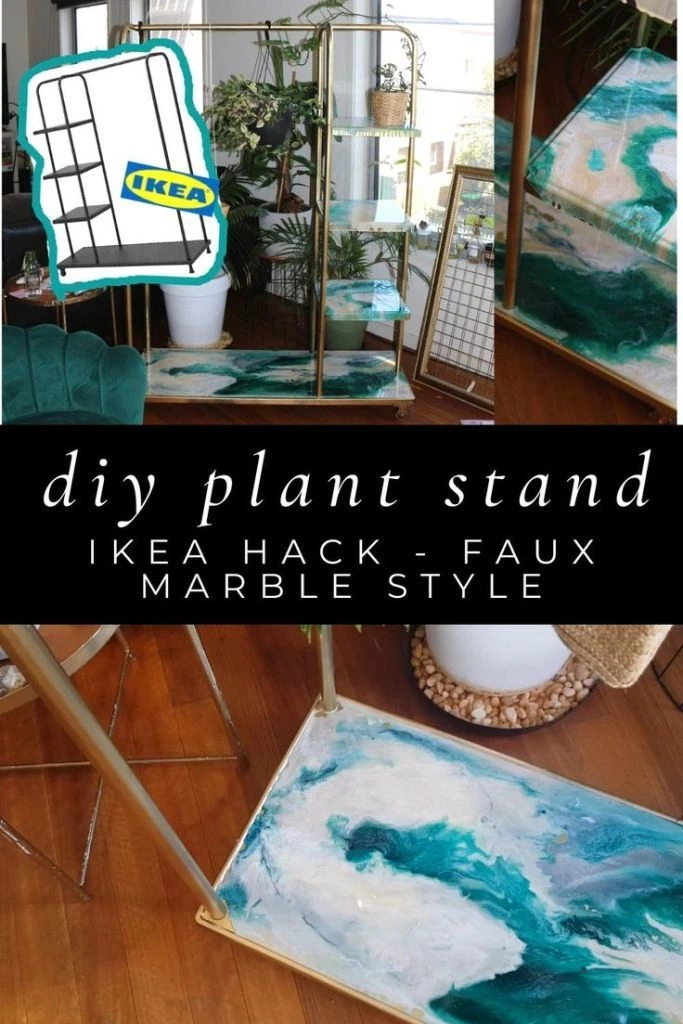
See? There are tons of colour options just waiting for you to play around with them!
WHAT YOU NEED:
- A table to upcycle
- Epoxy resin kit
- Acrylic paint in your chosen colours
- Spray paint in your chosen accent colours – mine were silver and white
- Plastic containers for mixing
HOW TO MAKE:
As always, I would love it if you watched this tutorial in video format and subscribed to me over on Youtube too!
The technique is shown in the video and you can apply it to pretty much anything you want.
**When working with resin, make sure to wear gloves and work in a well ventilated area. If working inside, wear a mask!**
- Separate the table top from the rest of the table.
- Cover your work surface, then elevate the table top – using old jars or plastic cups will work!
- Mix some epoxy resin according to your kit’s specifications, then divide it into separate containers for each colour. (For mine, I had 3 containers for black, white and grey.)
- Add a few drops of acrylic paint into each container, then stir until fully combined.
- Pour a little of each colour into a separate pouring container. Spray paint your accent colours directly into the container.
- Mix lightly once or twice – we want an even colour mix, but not to combine the colours.
- Pour the resin onto your table top. I followed loose, natural curves for the pattern of marble.
- Rinse and repeat until the table top is completely covered.
- Leave to set for 24-48 hours, then enjoy!
See – it’s so easy to create a DIY marble countertop. The great thing about this technique is that once you master it, there are so many practical applications for it. Coasters, trinket dishes, faux crystals . . .

The gifting potential is endless!
Alright, my loves, we shall end at the end! I hope you enjoyed this tutorial on how to make a resin table. Personally, I’m obsessed with how this came out. Would you try this at home? What colour scheme would you choose? Let me know your thoughts down below!
Peace,

Instagram // Twitter // Bloglovin’ // Youtube // Pinterest
 |
 |
 |
 |

About Mia M.
I'm going through a bit of an existential crisis right now, I'll tell you about myself when I figure out if I'm real or not.
Leave a Reply
hey, i’m mia

tattoo lover, plant hoarder, DIY addict and overall stoner grandma
Check out the FREE Gifts. Or latest free DIY eBooks from our best compilation.
Turn off Ad Block to reveal all the secrets. Once done, hit any button:
 |
 |
 |
 |